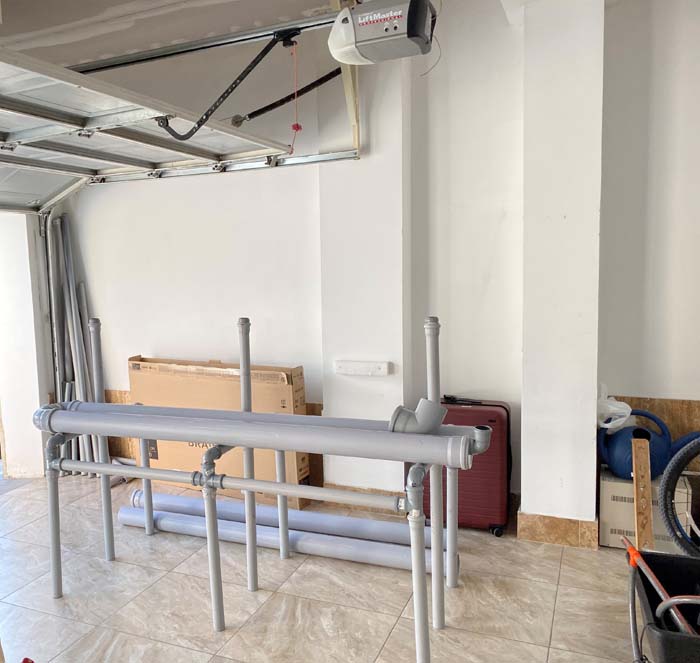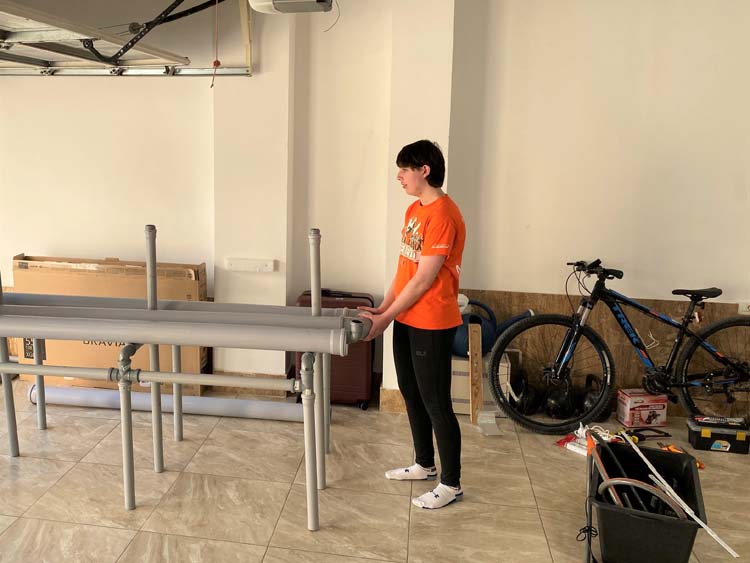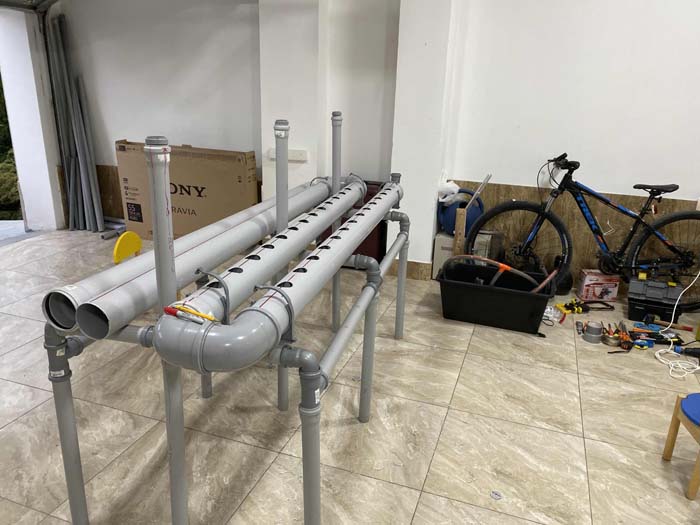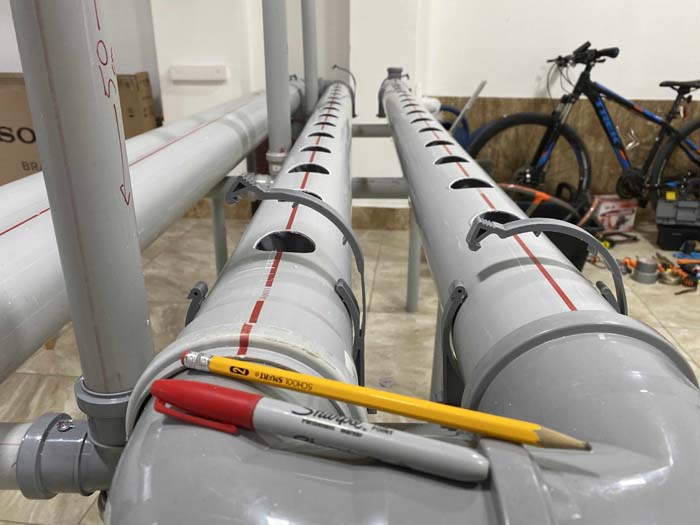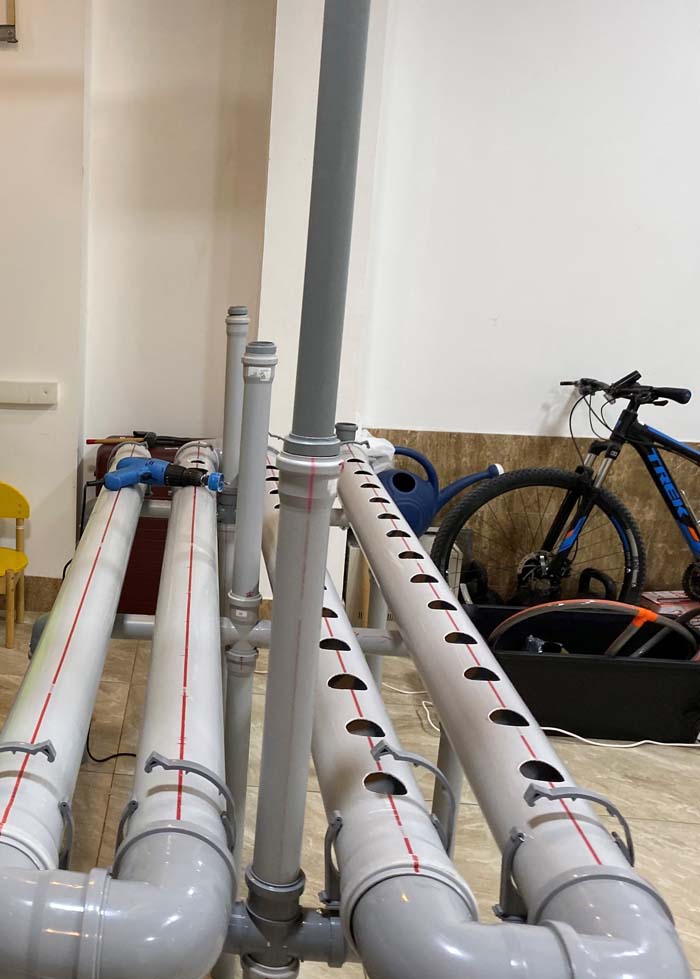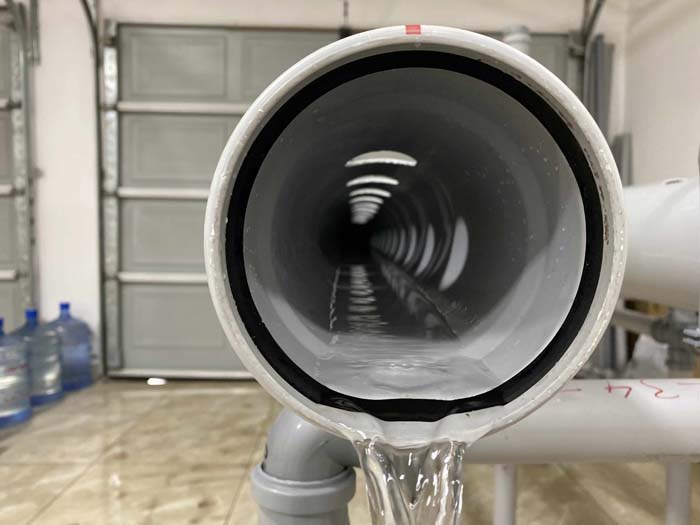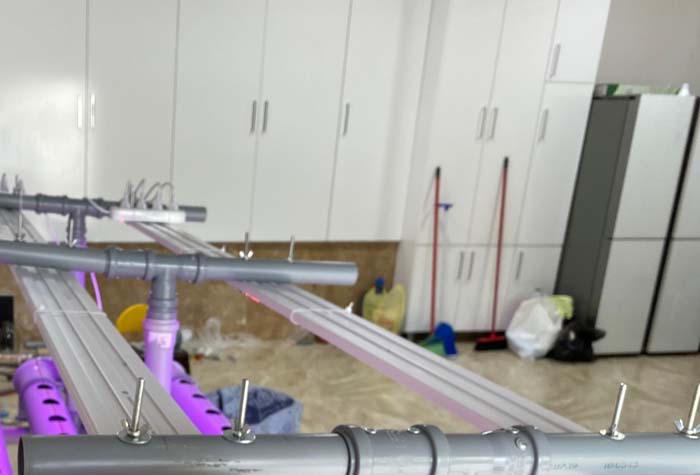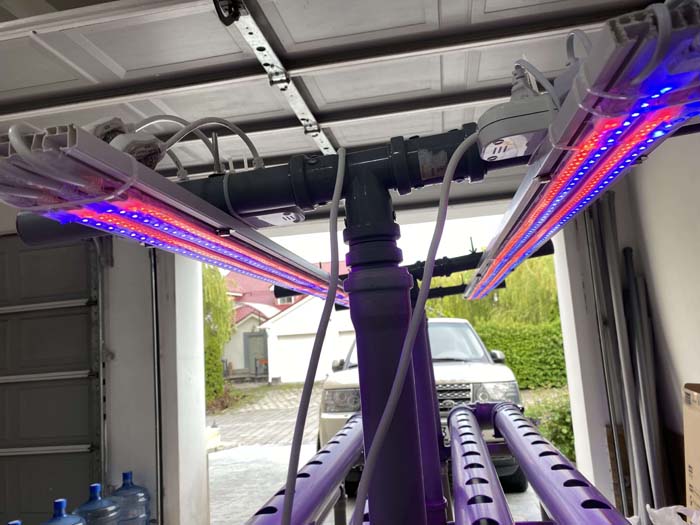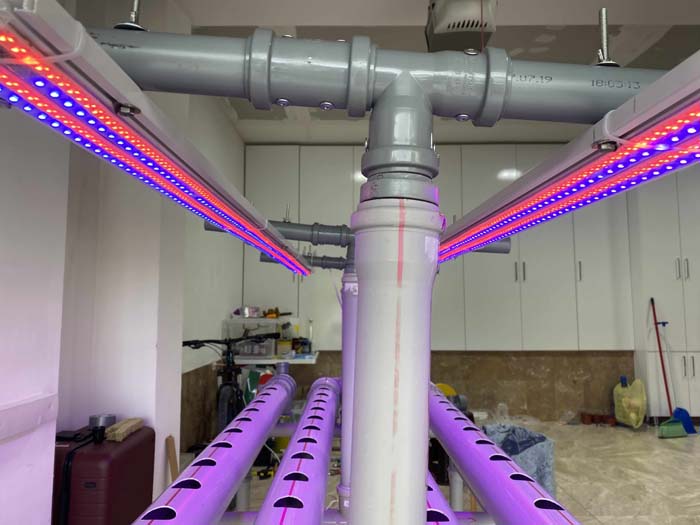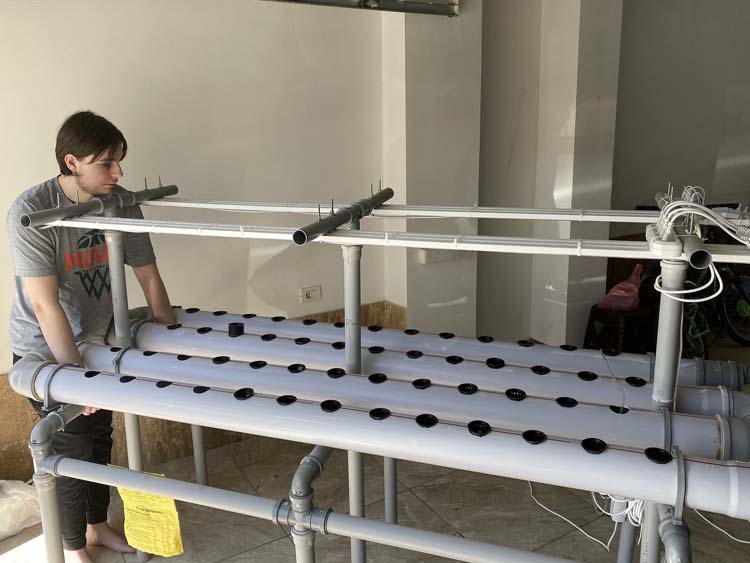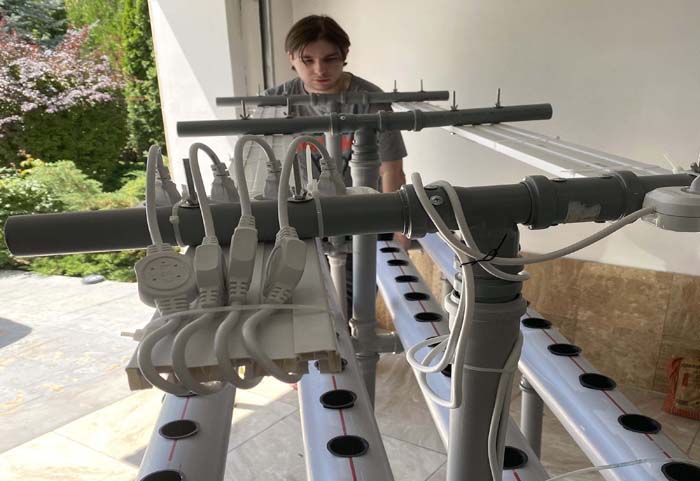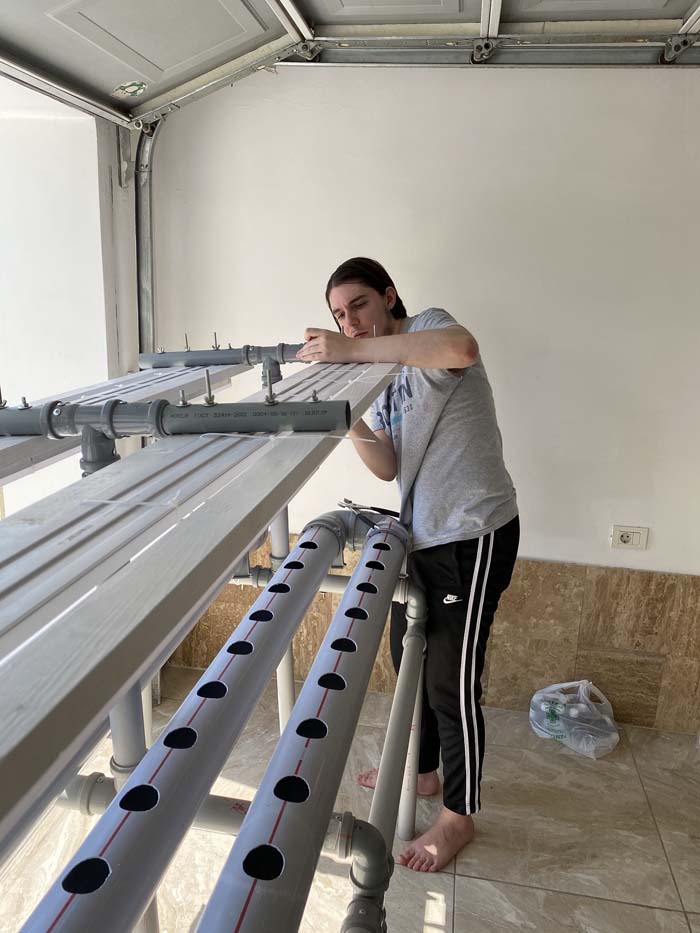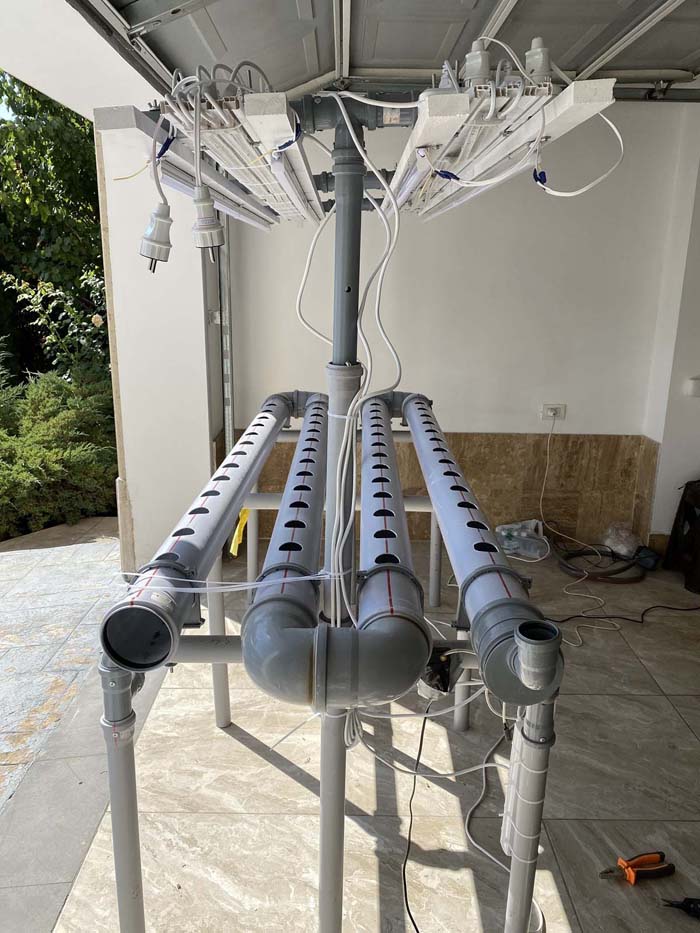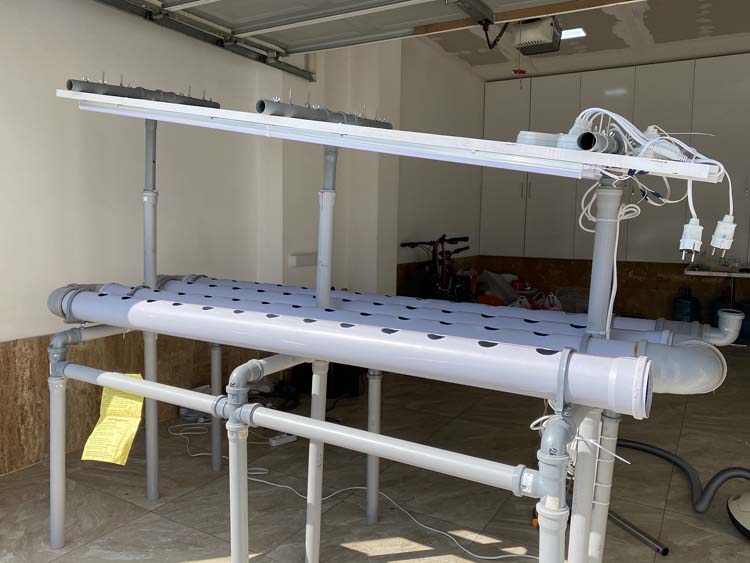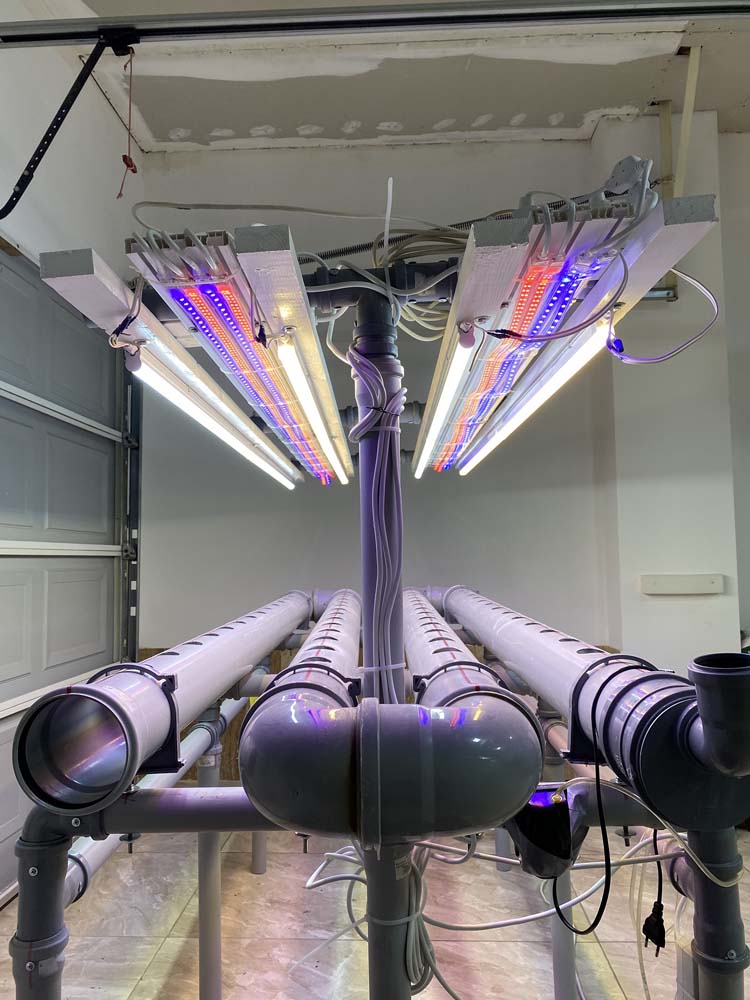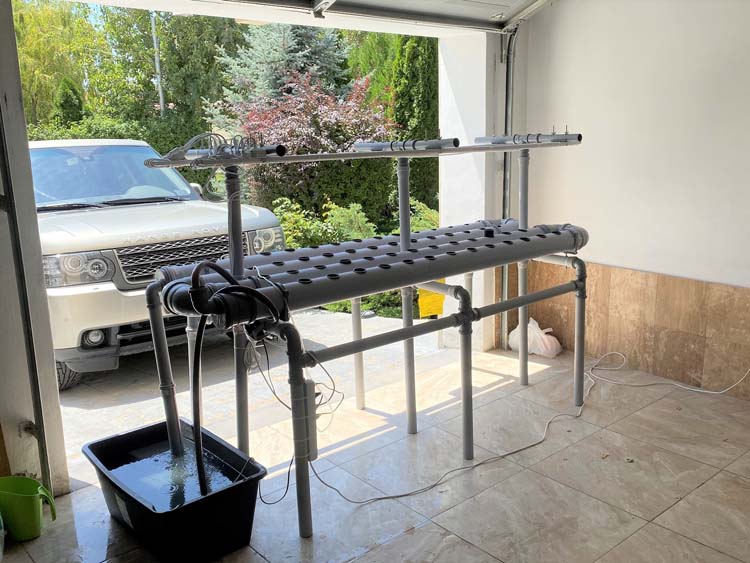
The Final System.
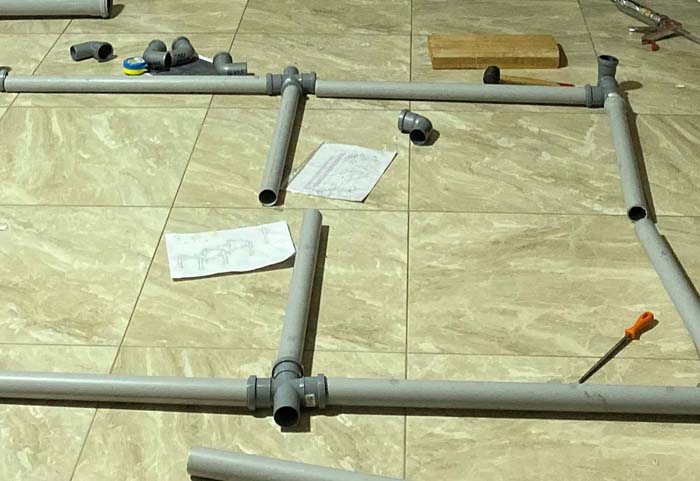
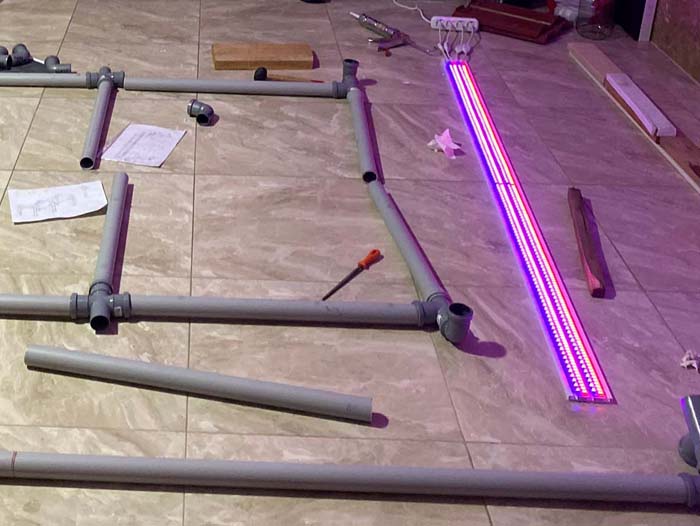
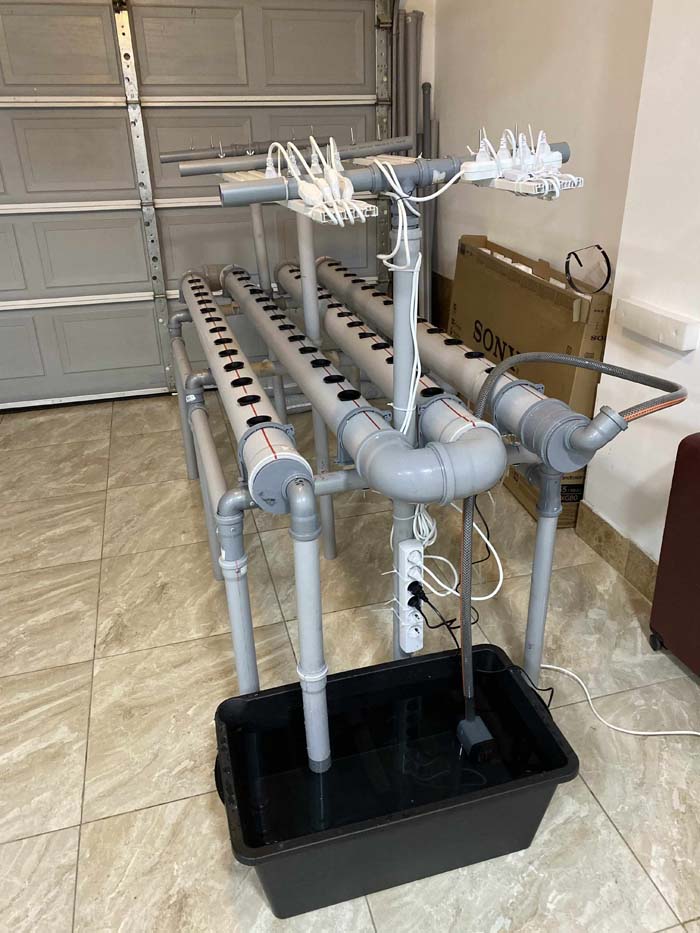
After you put together all the parts, this is how it will look. You can move the parts into any space and assemble them on location. It is light so you can move it easily. There is no wood used, no rotting, no fungi, and light weight.
Side View.
It has four Growth-Tubes (GT). You can make it with only two Growth-Tubes or multiples of two. You can assemble or disassemble it anytime, add more sections to it in the future. I have designed it to have the best sizing and space usage. You can monitor and manage the growing vegetables easily from all sides.

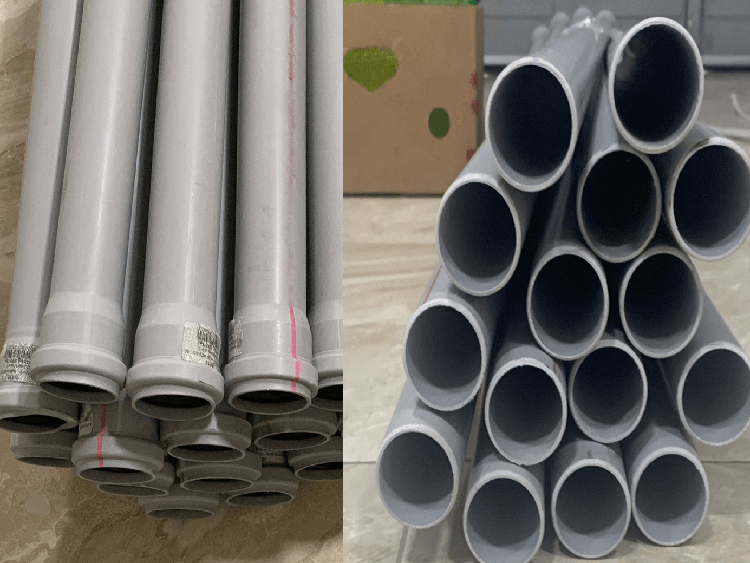
Sourcing and buying the parts.
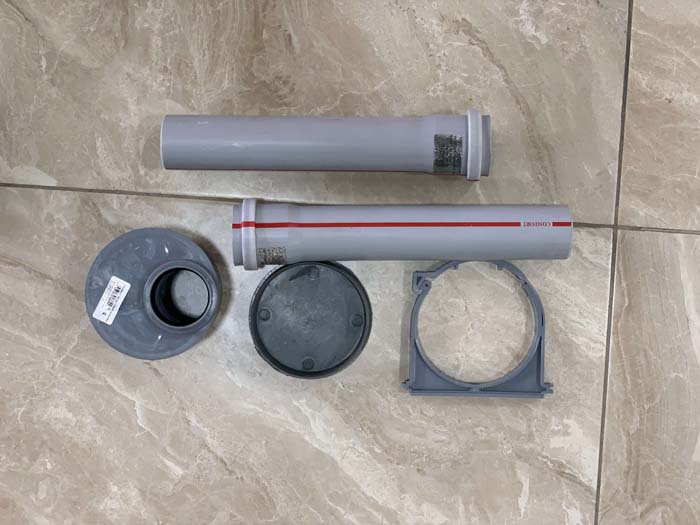
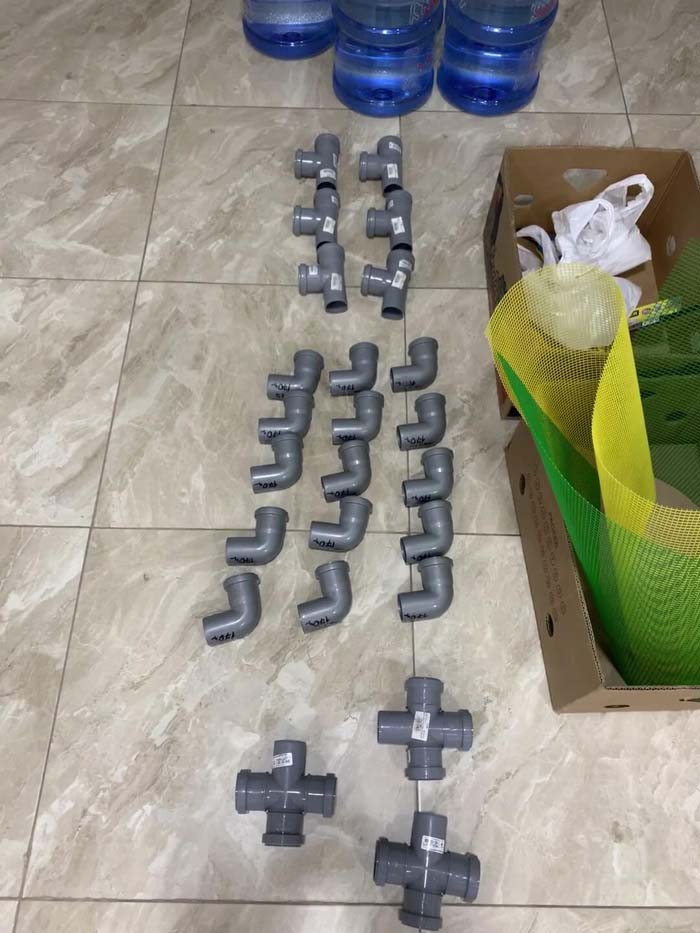
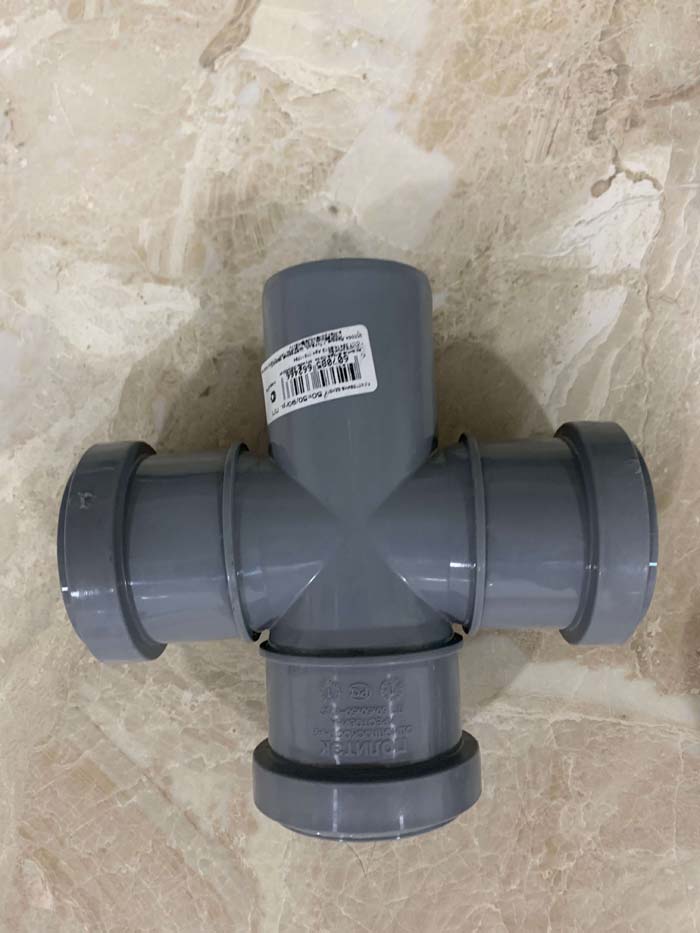
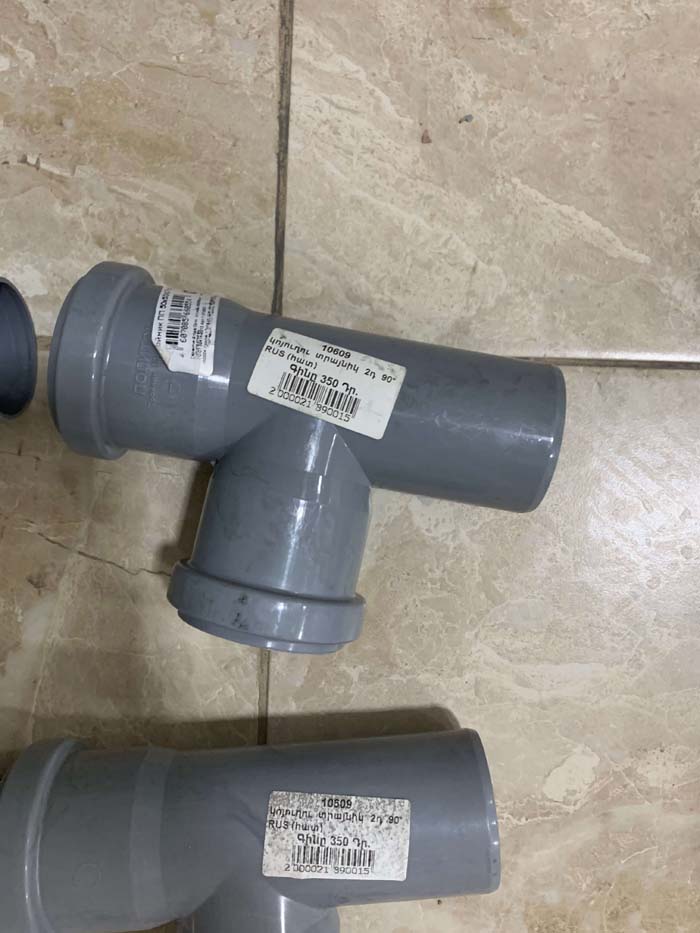
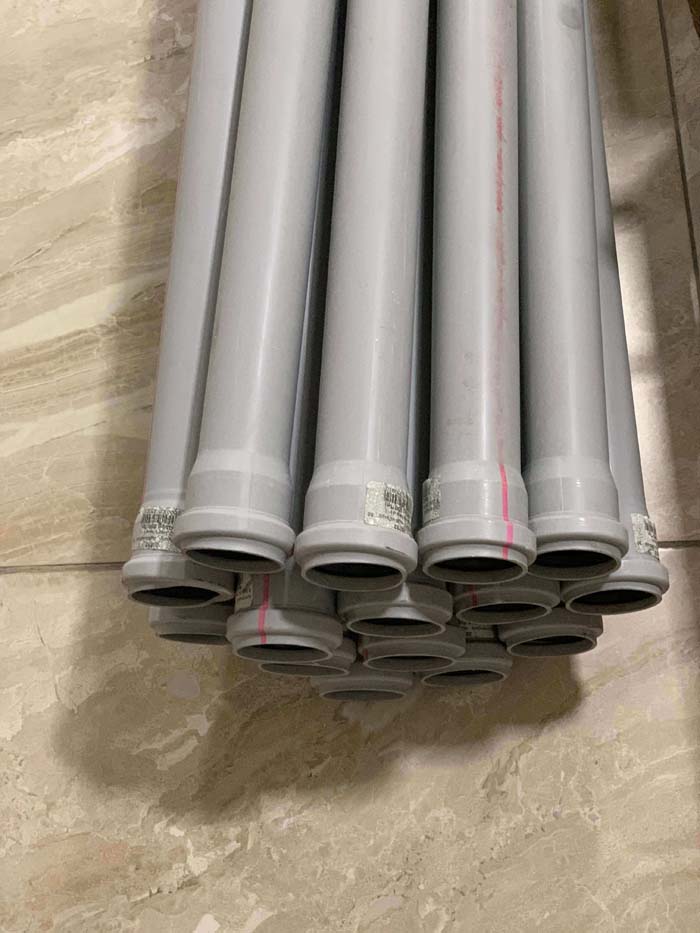
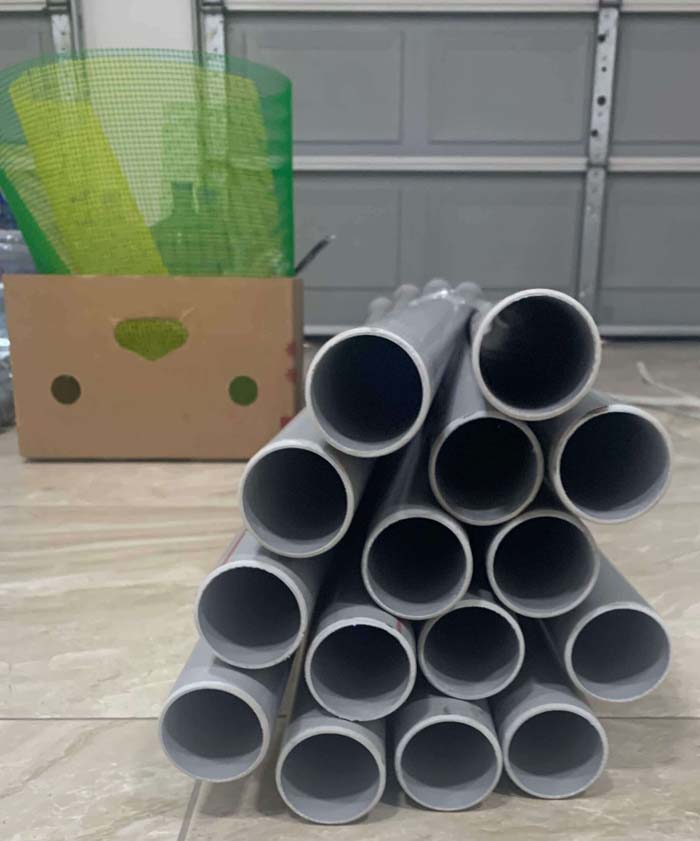
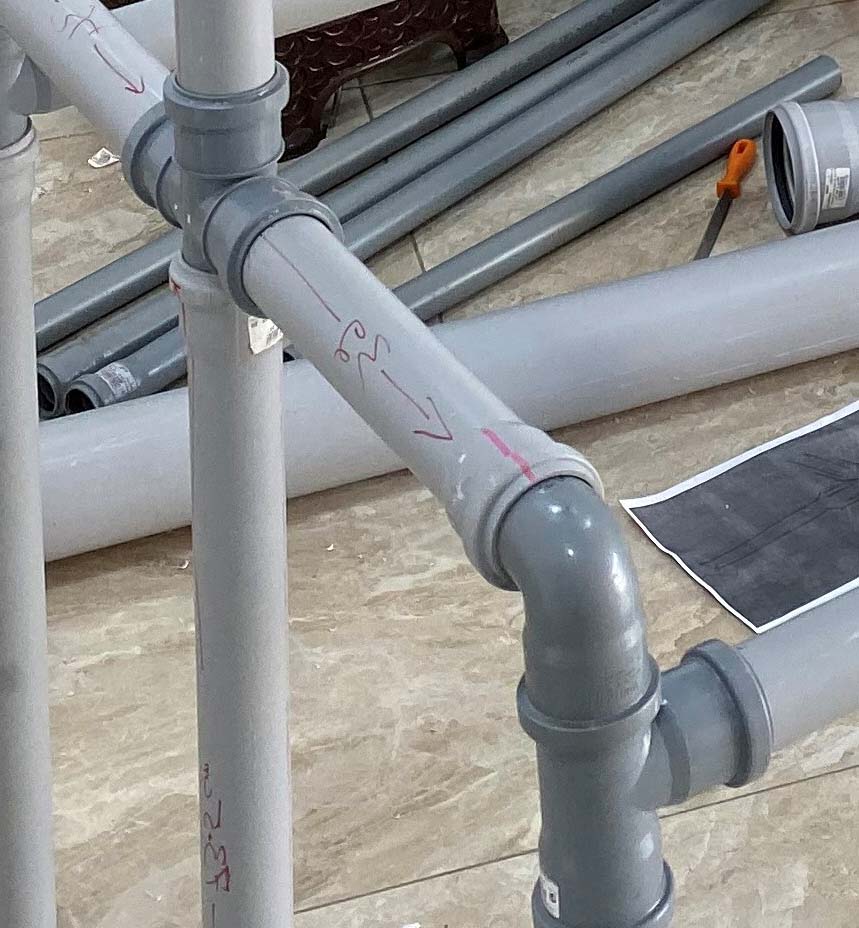
First we needed to buy the pipes for the water to run through. My design intentionally uses standard water pipes to make it low cost and easy replaceable parts. You can get all these parts from your building material or Do-It-Yourself stores. Buy the number of pipes, screws, and fixtures you see in these photos.
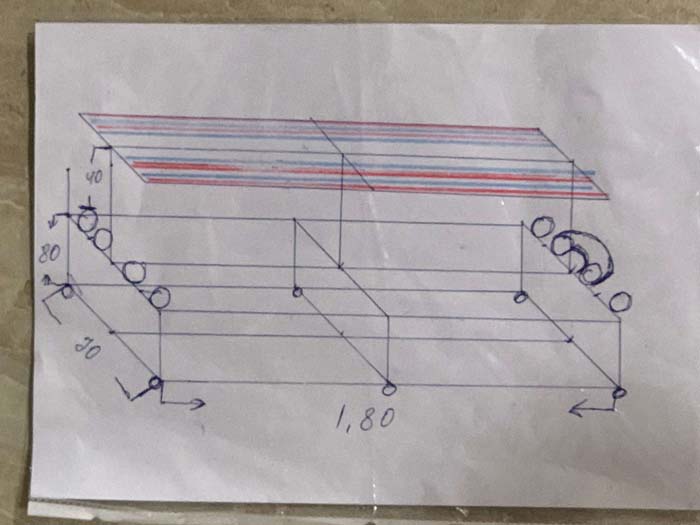
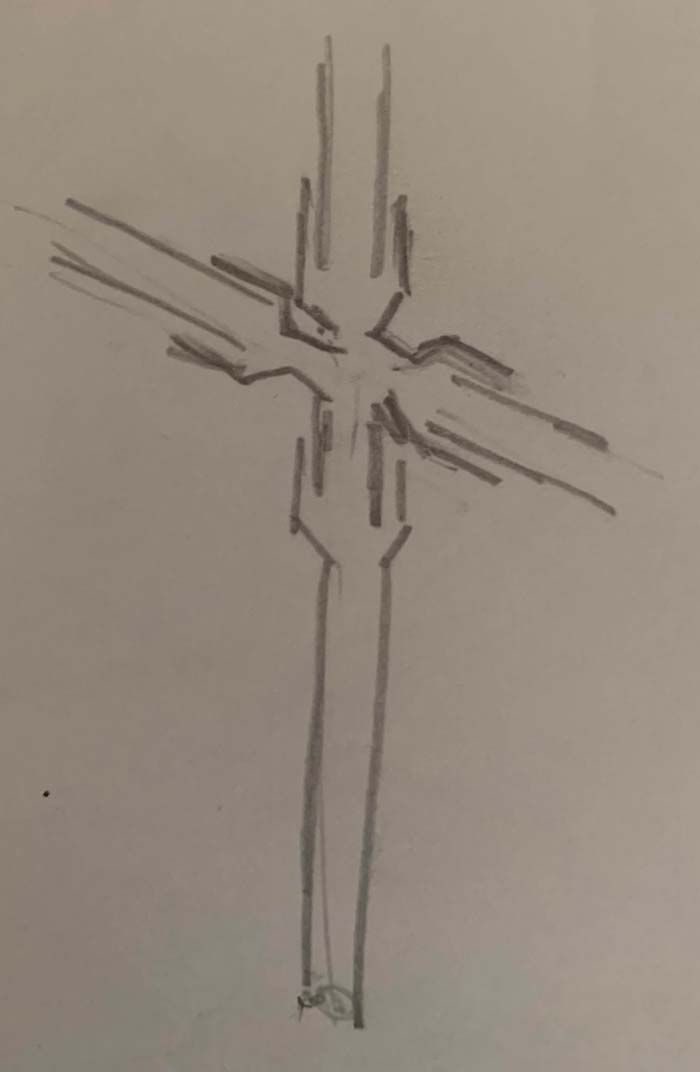
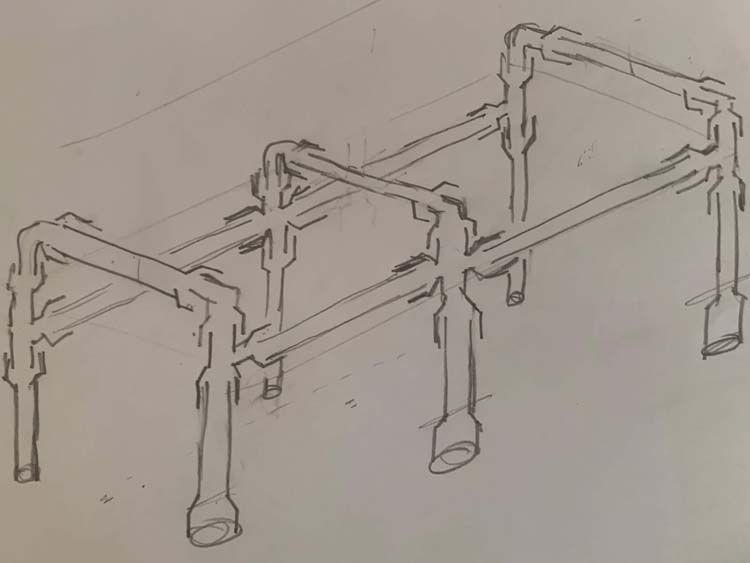
My Blueprint drawing.
This is my design of the general structure that will hold the Growth-Tubes and the lights. You may change the measurements based on how longer or shorter, wider or narrower you want to make your farm. My design is the most optimum size for one Hydroponic Farm unit, designed to be very easy to maintain and service.
The Flow of water inside.
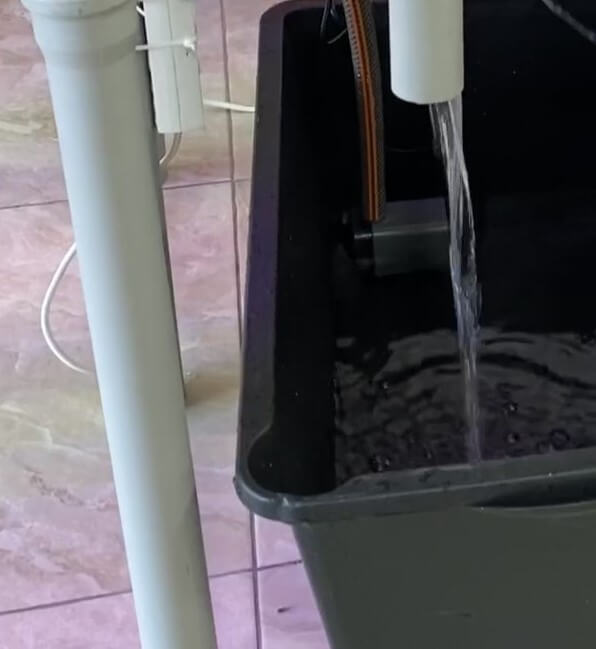
This is one of of the most critical parts of the system. The flow can neither be too slow nor too fast. It has to be just the right speed and liquid mass. My design has 3 controls that give you easy yet accurate way to increase or decrease the level and speed of the water flow.
Made to work indoors without sunlight.
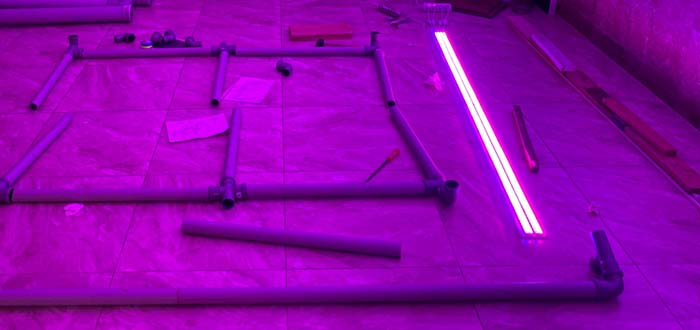
It has to work 24*7 non stop. LED good lighting at low electricity cost. We found best results using a combination of white, blue, and red lights. Strong LED lights are preferred for fast growth. 5 to 8 watts each.
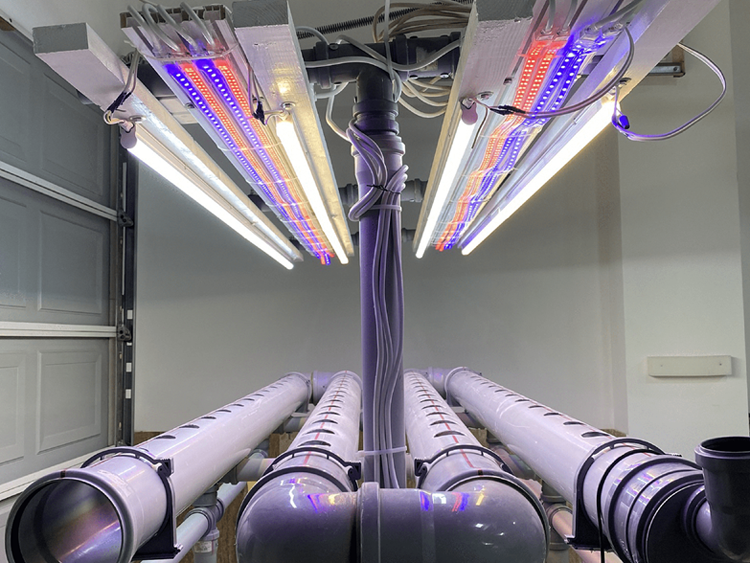
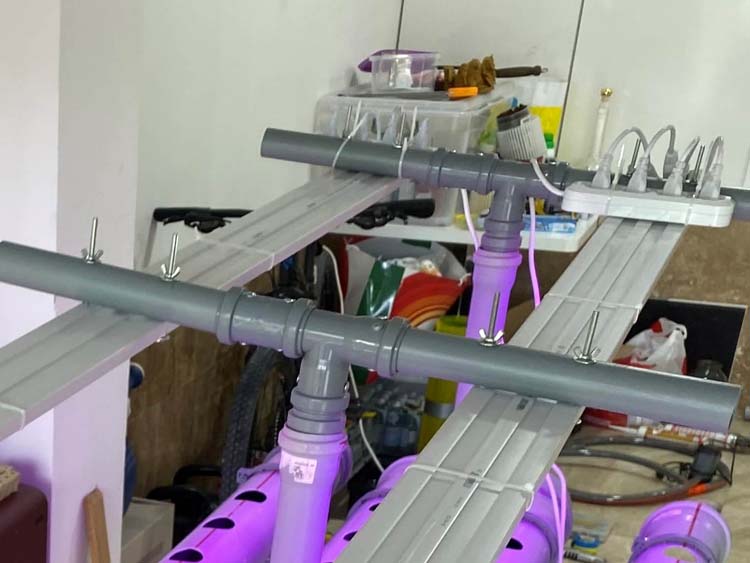
LED Light holders.
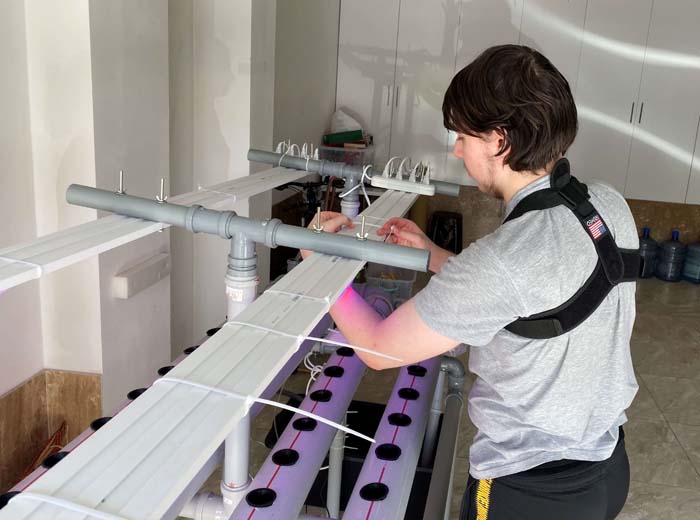
The lights have to go along the direction of the Growth-Tubes. I designed the system to have the lights at a specified distance from the plants. Importantly, they are designed to be movable up and down. You can raise them up and safely bend under to check the plants, or take them out, or service the Growth-cups.
Clean the inside to remove dust, dirt or other residues.
One big advantage why everyone must adopt hydroponic farms instead of soil-based farms, is that it keeps worms, germs, flies, pollution chemicals from the air, and other parasites from getting into the farm and the plants as they grow. You now have full control of the plant you will grow and eat. Isn't that great?

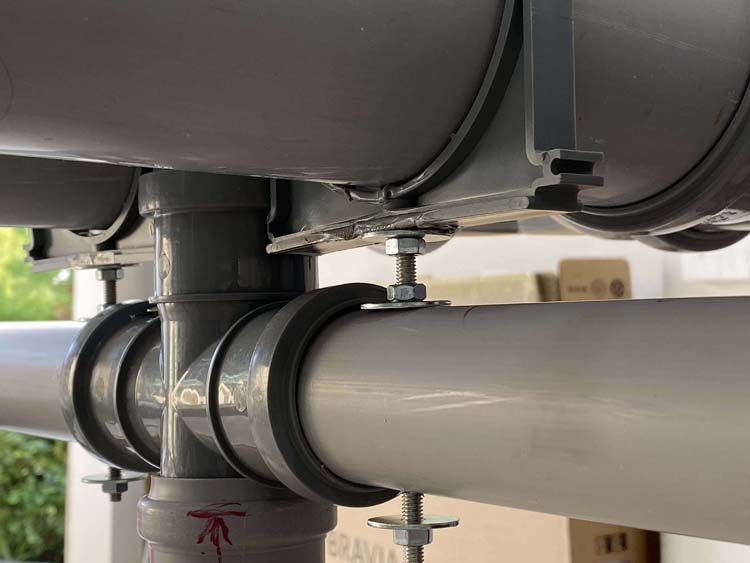
Adjustable heights to control the water flow.
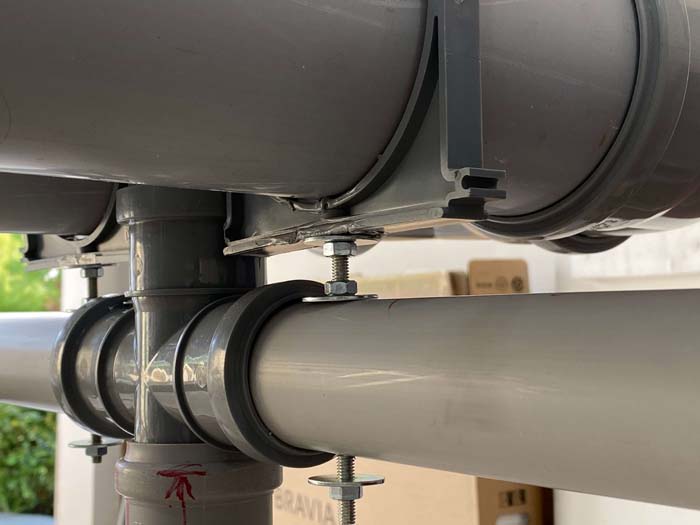
Use long screws, bolts and rivets to support the base of the structure of the Growth-Tubes. From where you feed the water into the system, to where the water comes out into the water tank, the incline has to be consistent at the right angle, to achieve best results. All the water is being circulated with a small water pump., You will loose some water as it will evaporate, so keep an eye on it and add water to the water tank when needed.
Accurately adjust Growth-Tube heights.
Spend some time to increase or decrease the padding or screw adjustments under each Growth-Tube to adjust the water flow or level of incline. Experiment till you reach the optimum water flow speed.
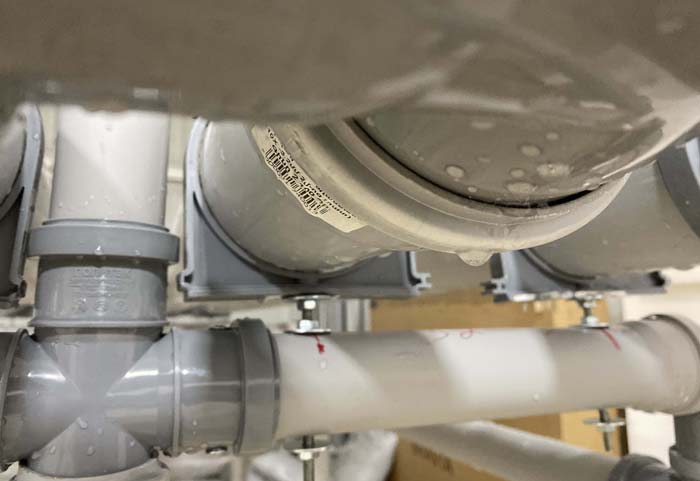

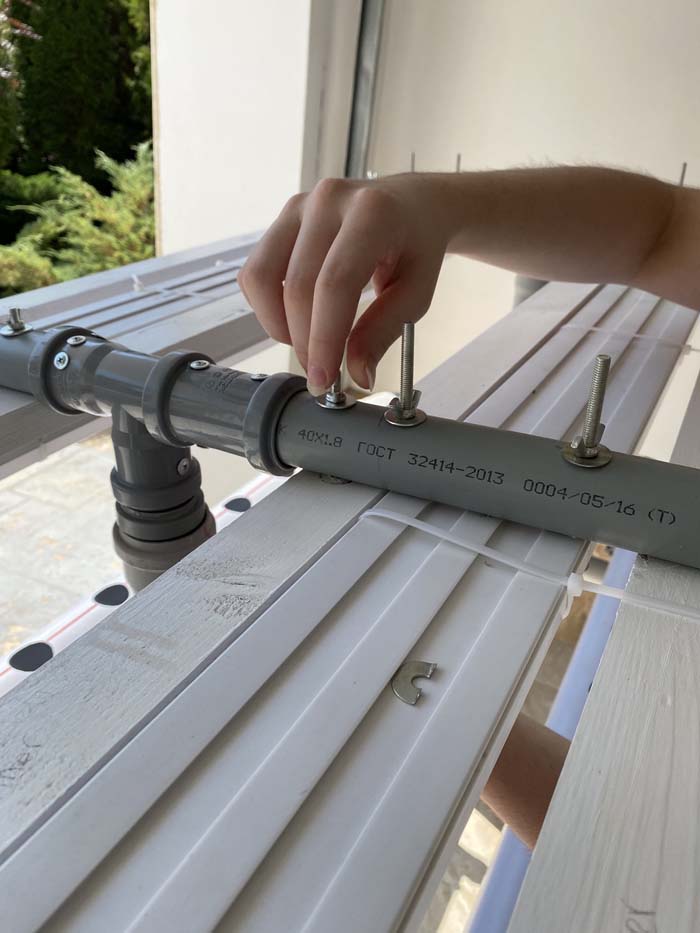
Tighten the structure with small screws.
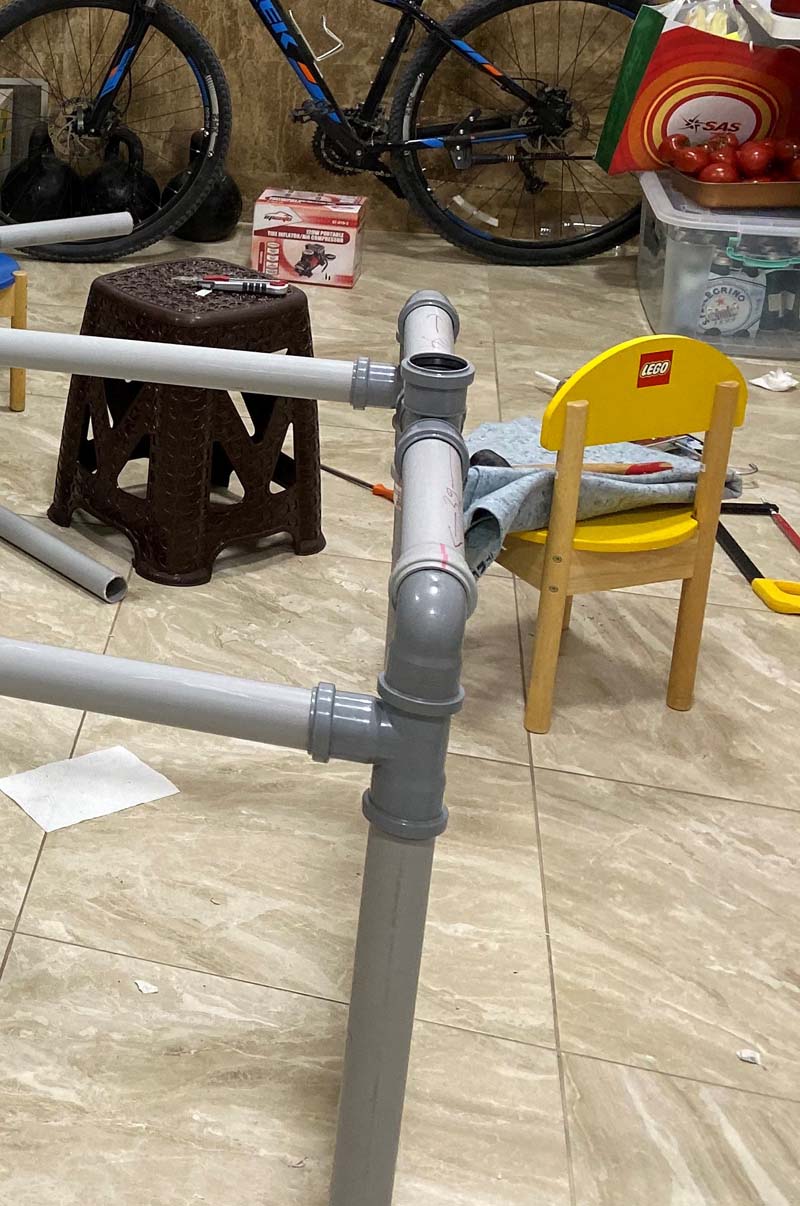
Remember the structure is designed so it all fits together like Lego parts. To reinforce and make it tight fit, drill a short screw into the joints to hold things together more firmly.
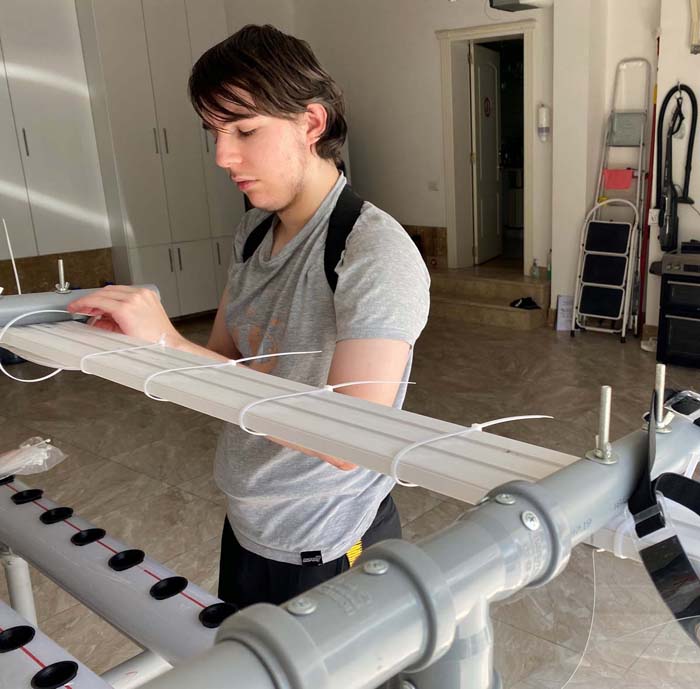
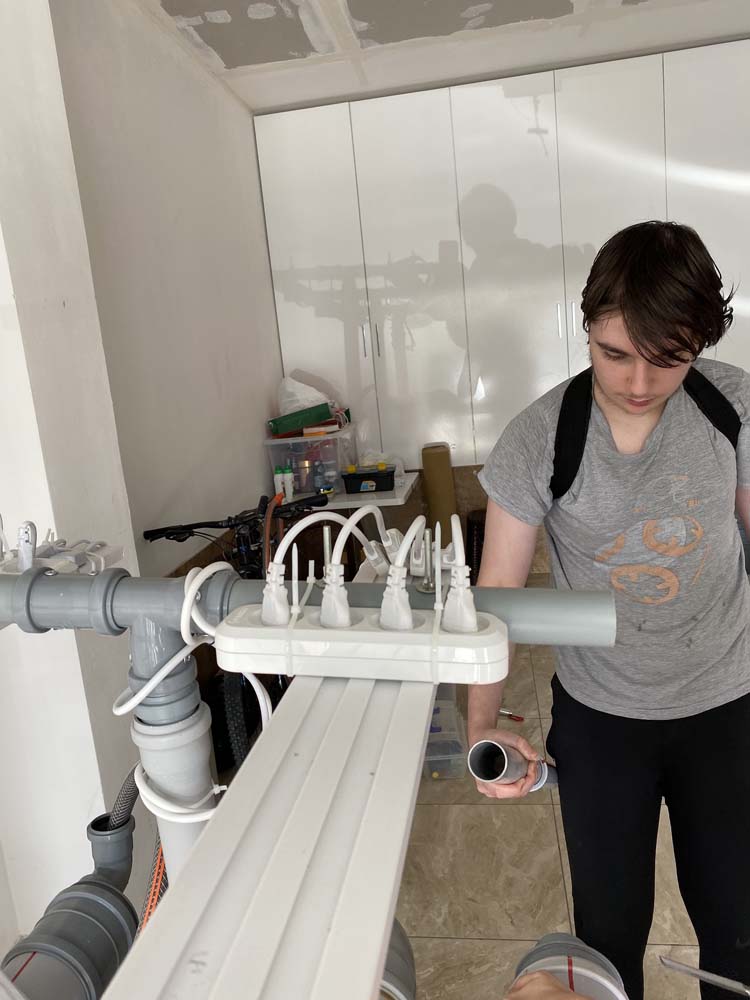
Hold in place the lights and electric assembly with Zip Ties.
My design avoids using any scotch or masking tape or glues. I use Zip Ties or Cable ties. They are strong, easy to use, waterproof, and very low cost. This Hydroponic farm is designed to be waterproof. Since there is much water to work with, things often get wet. This will not be a problem for my hydroponic farm structure.
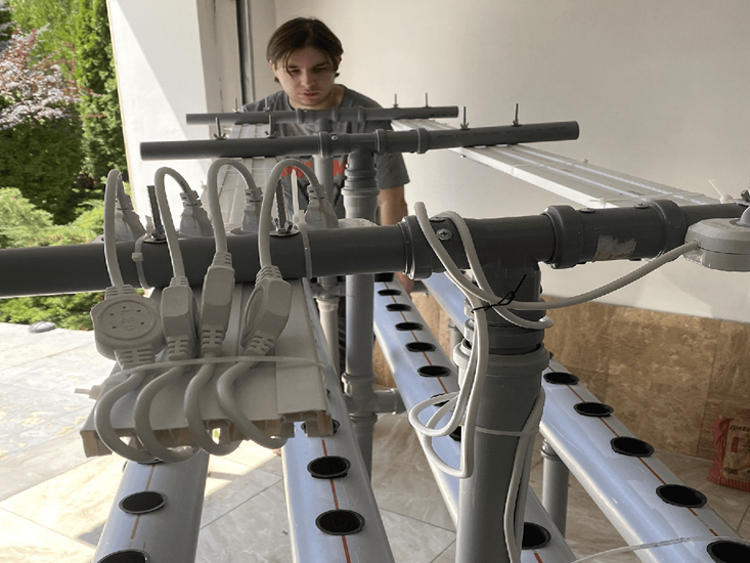

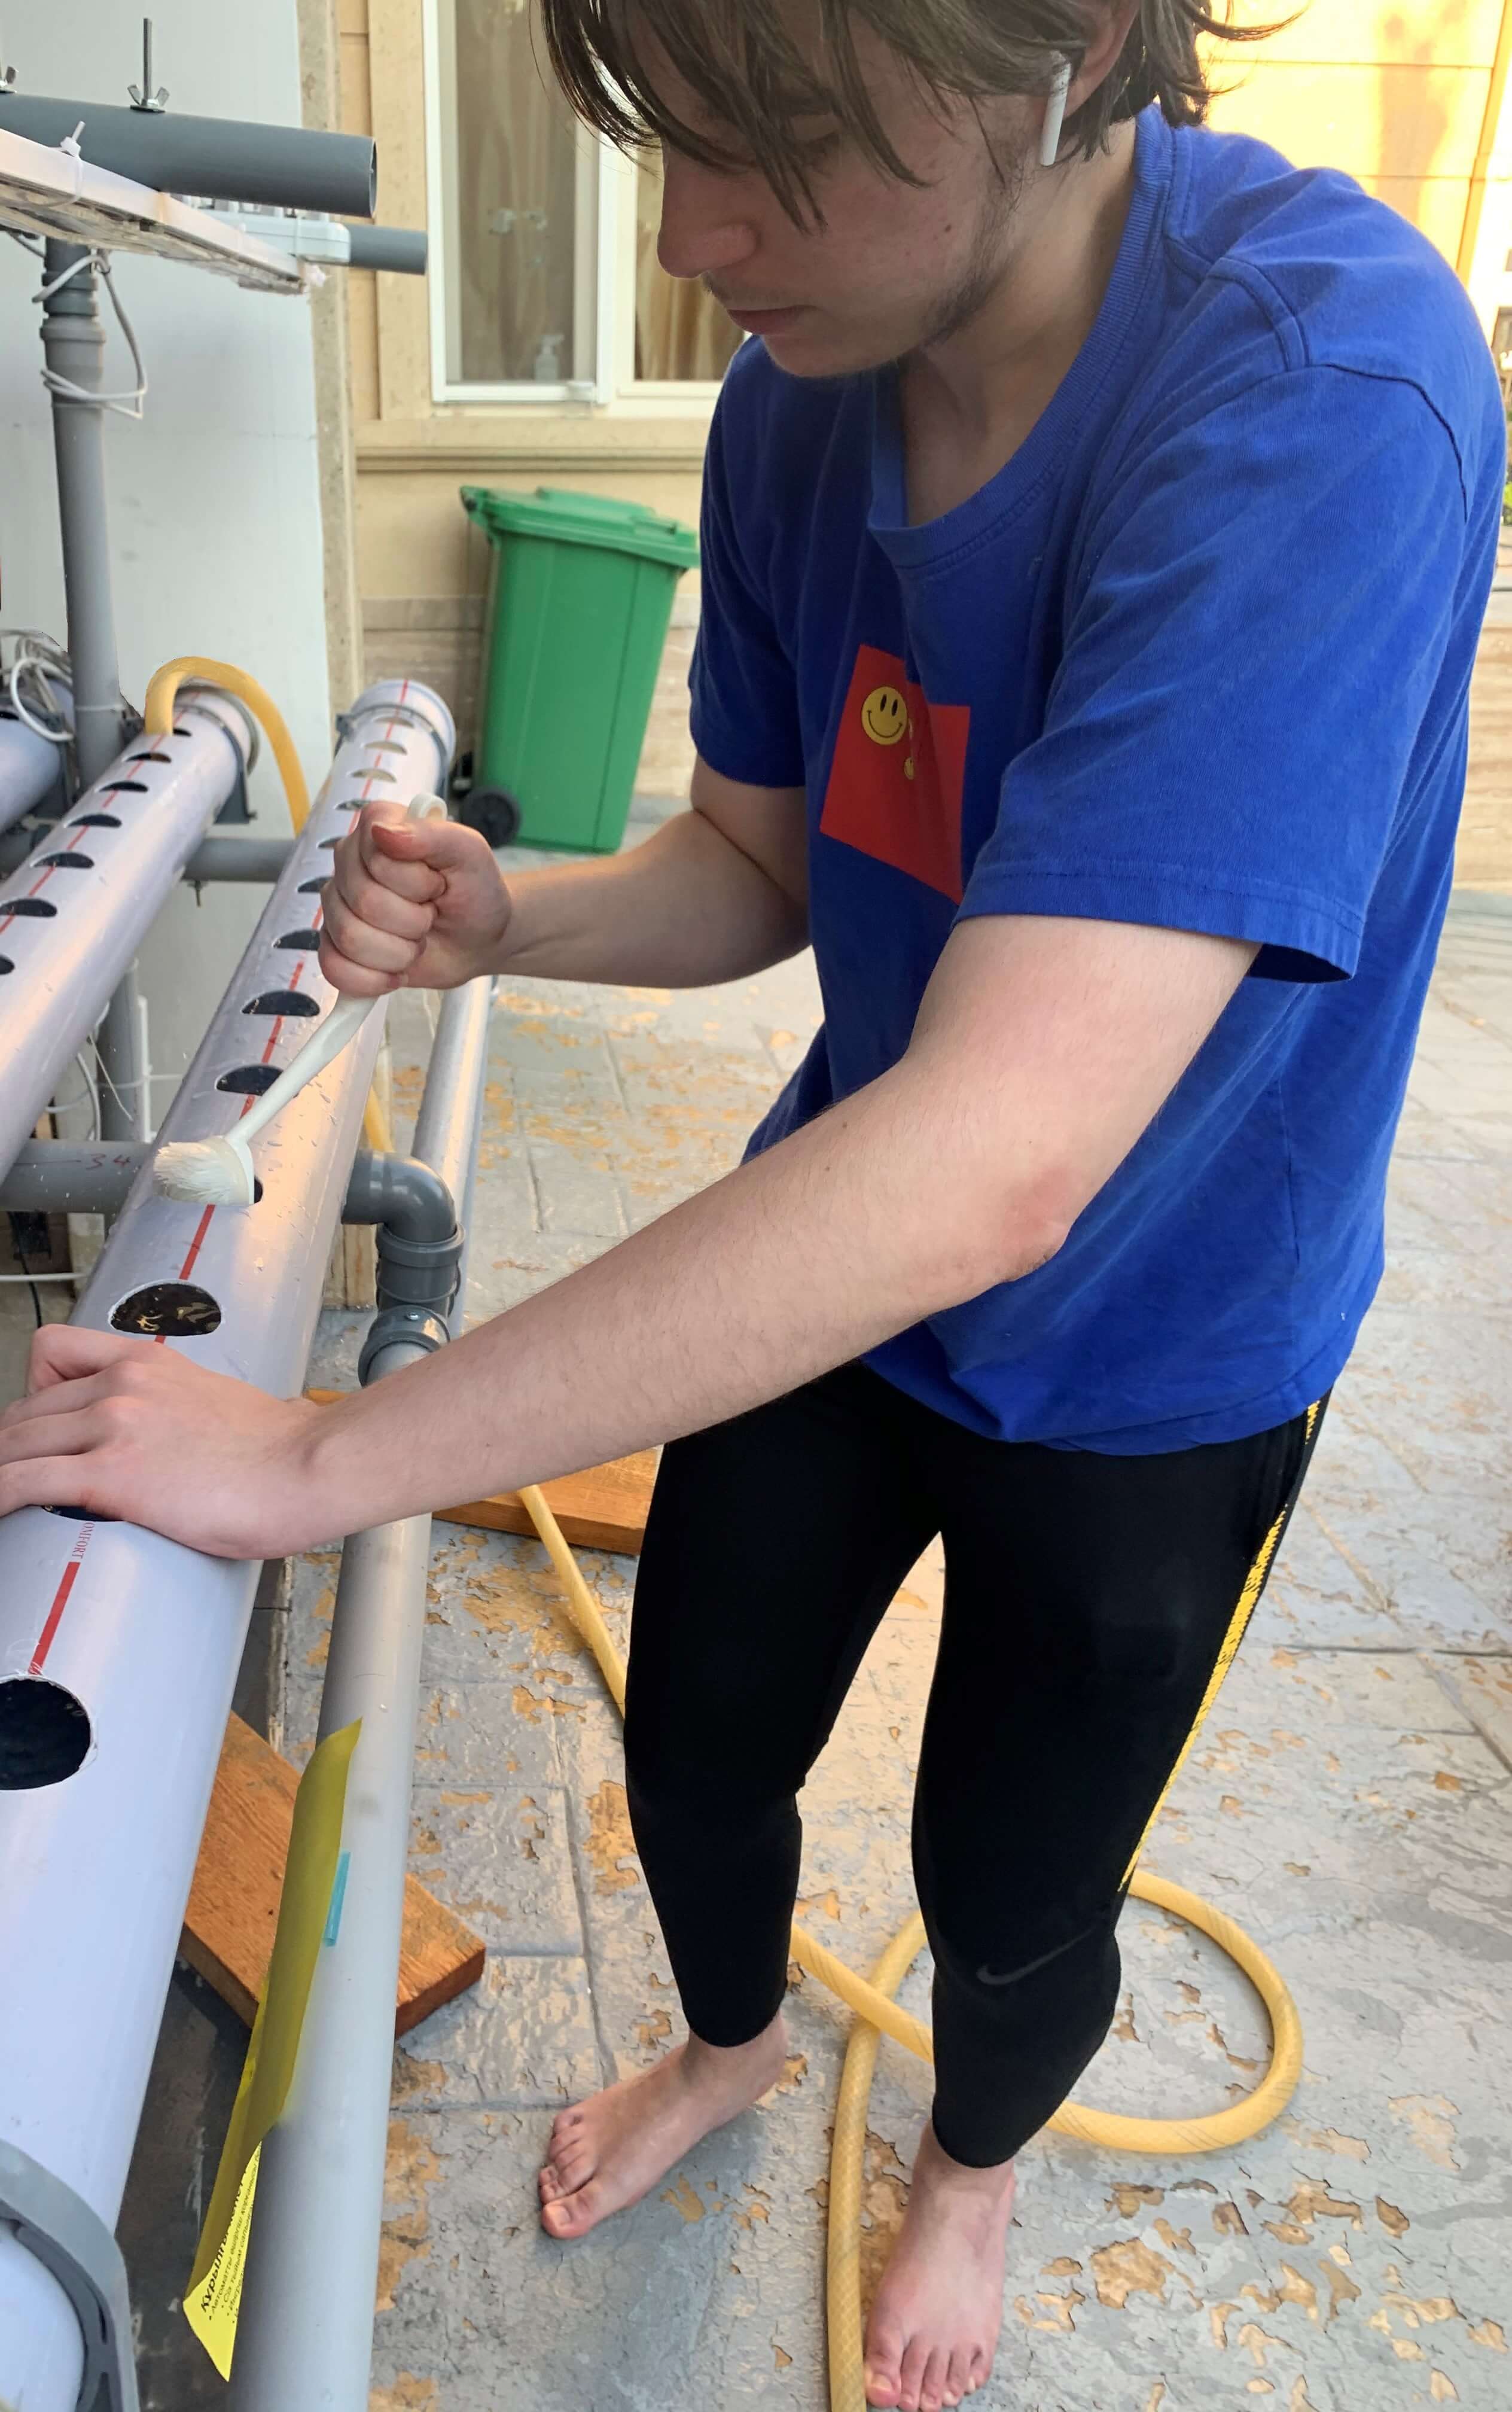
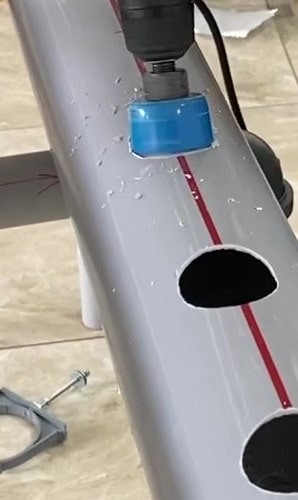
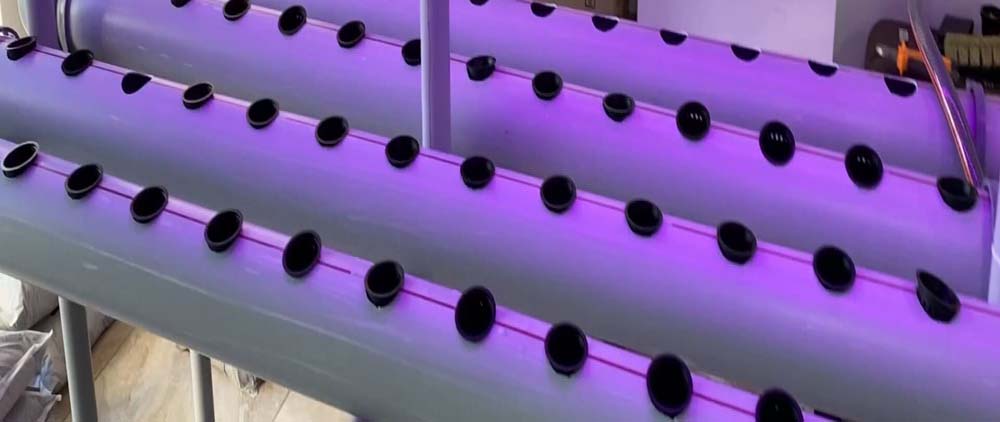
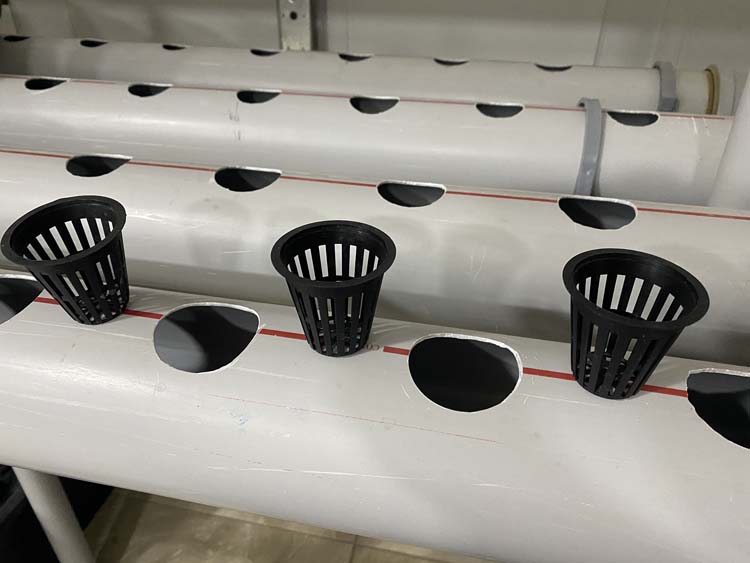
Make holes for the Growth-Cups.
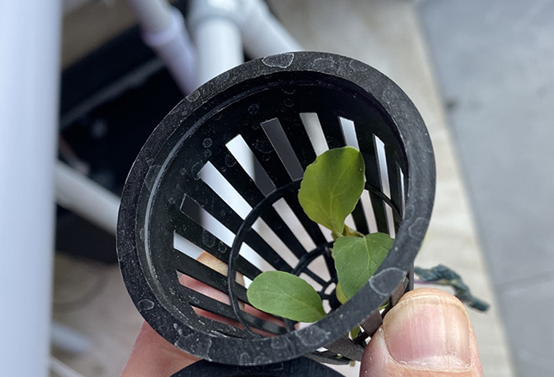
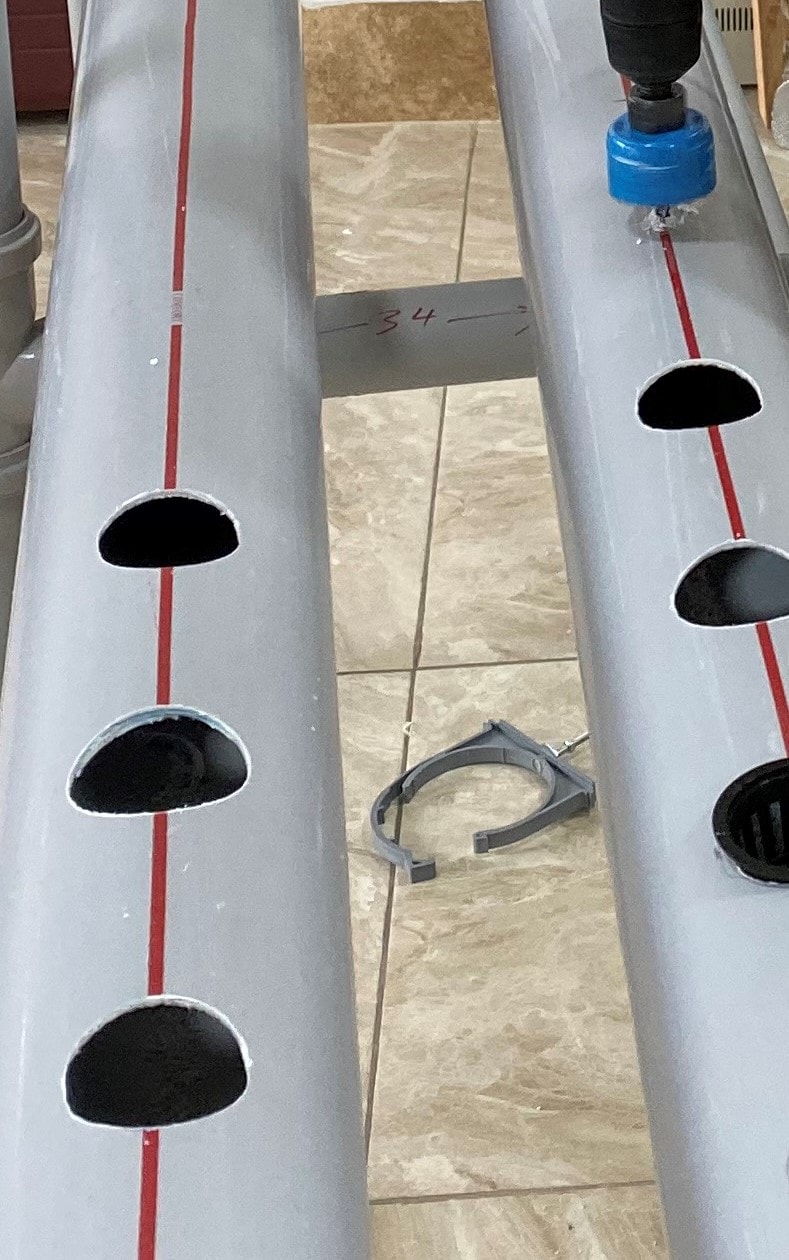
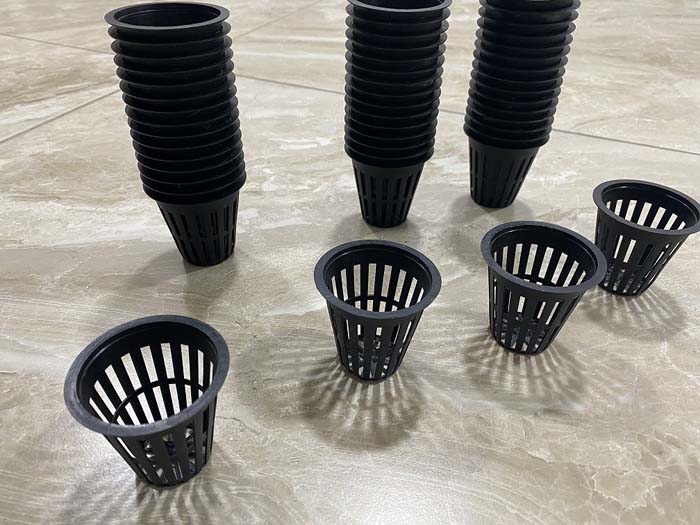
You can make your own cup from a mesh or a net, or even get small cups and drill holes in them. You can also use these small pre-made cups. First mark the location of all the growth cups. for plants that grow big and take more space, make the distance between two growth cups larger. Most vegetables fall into, small, medium and large space-needing growth plants. Drill the holes on the top of the large Growth-Tubes. Use the exact right size drill head to match the cup size.
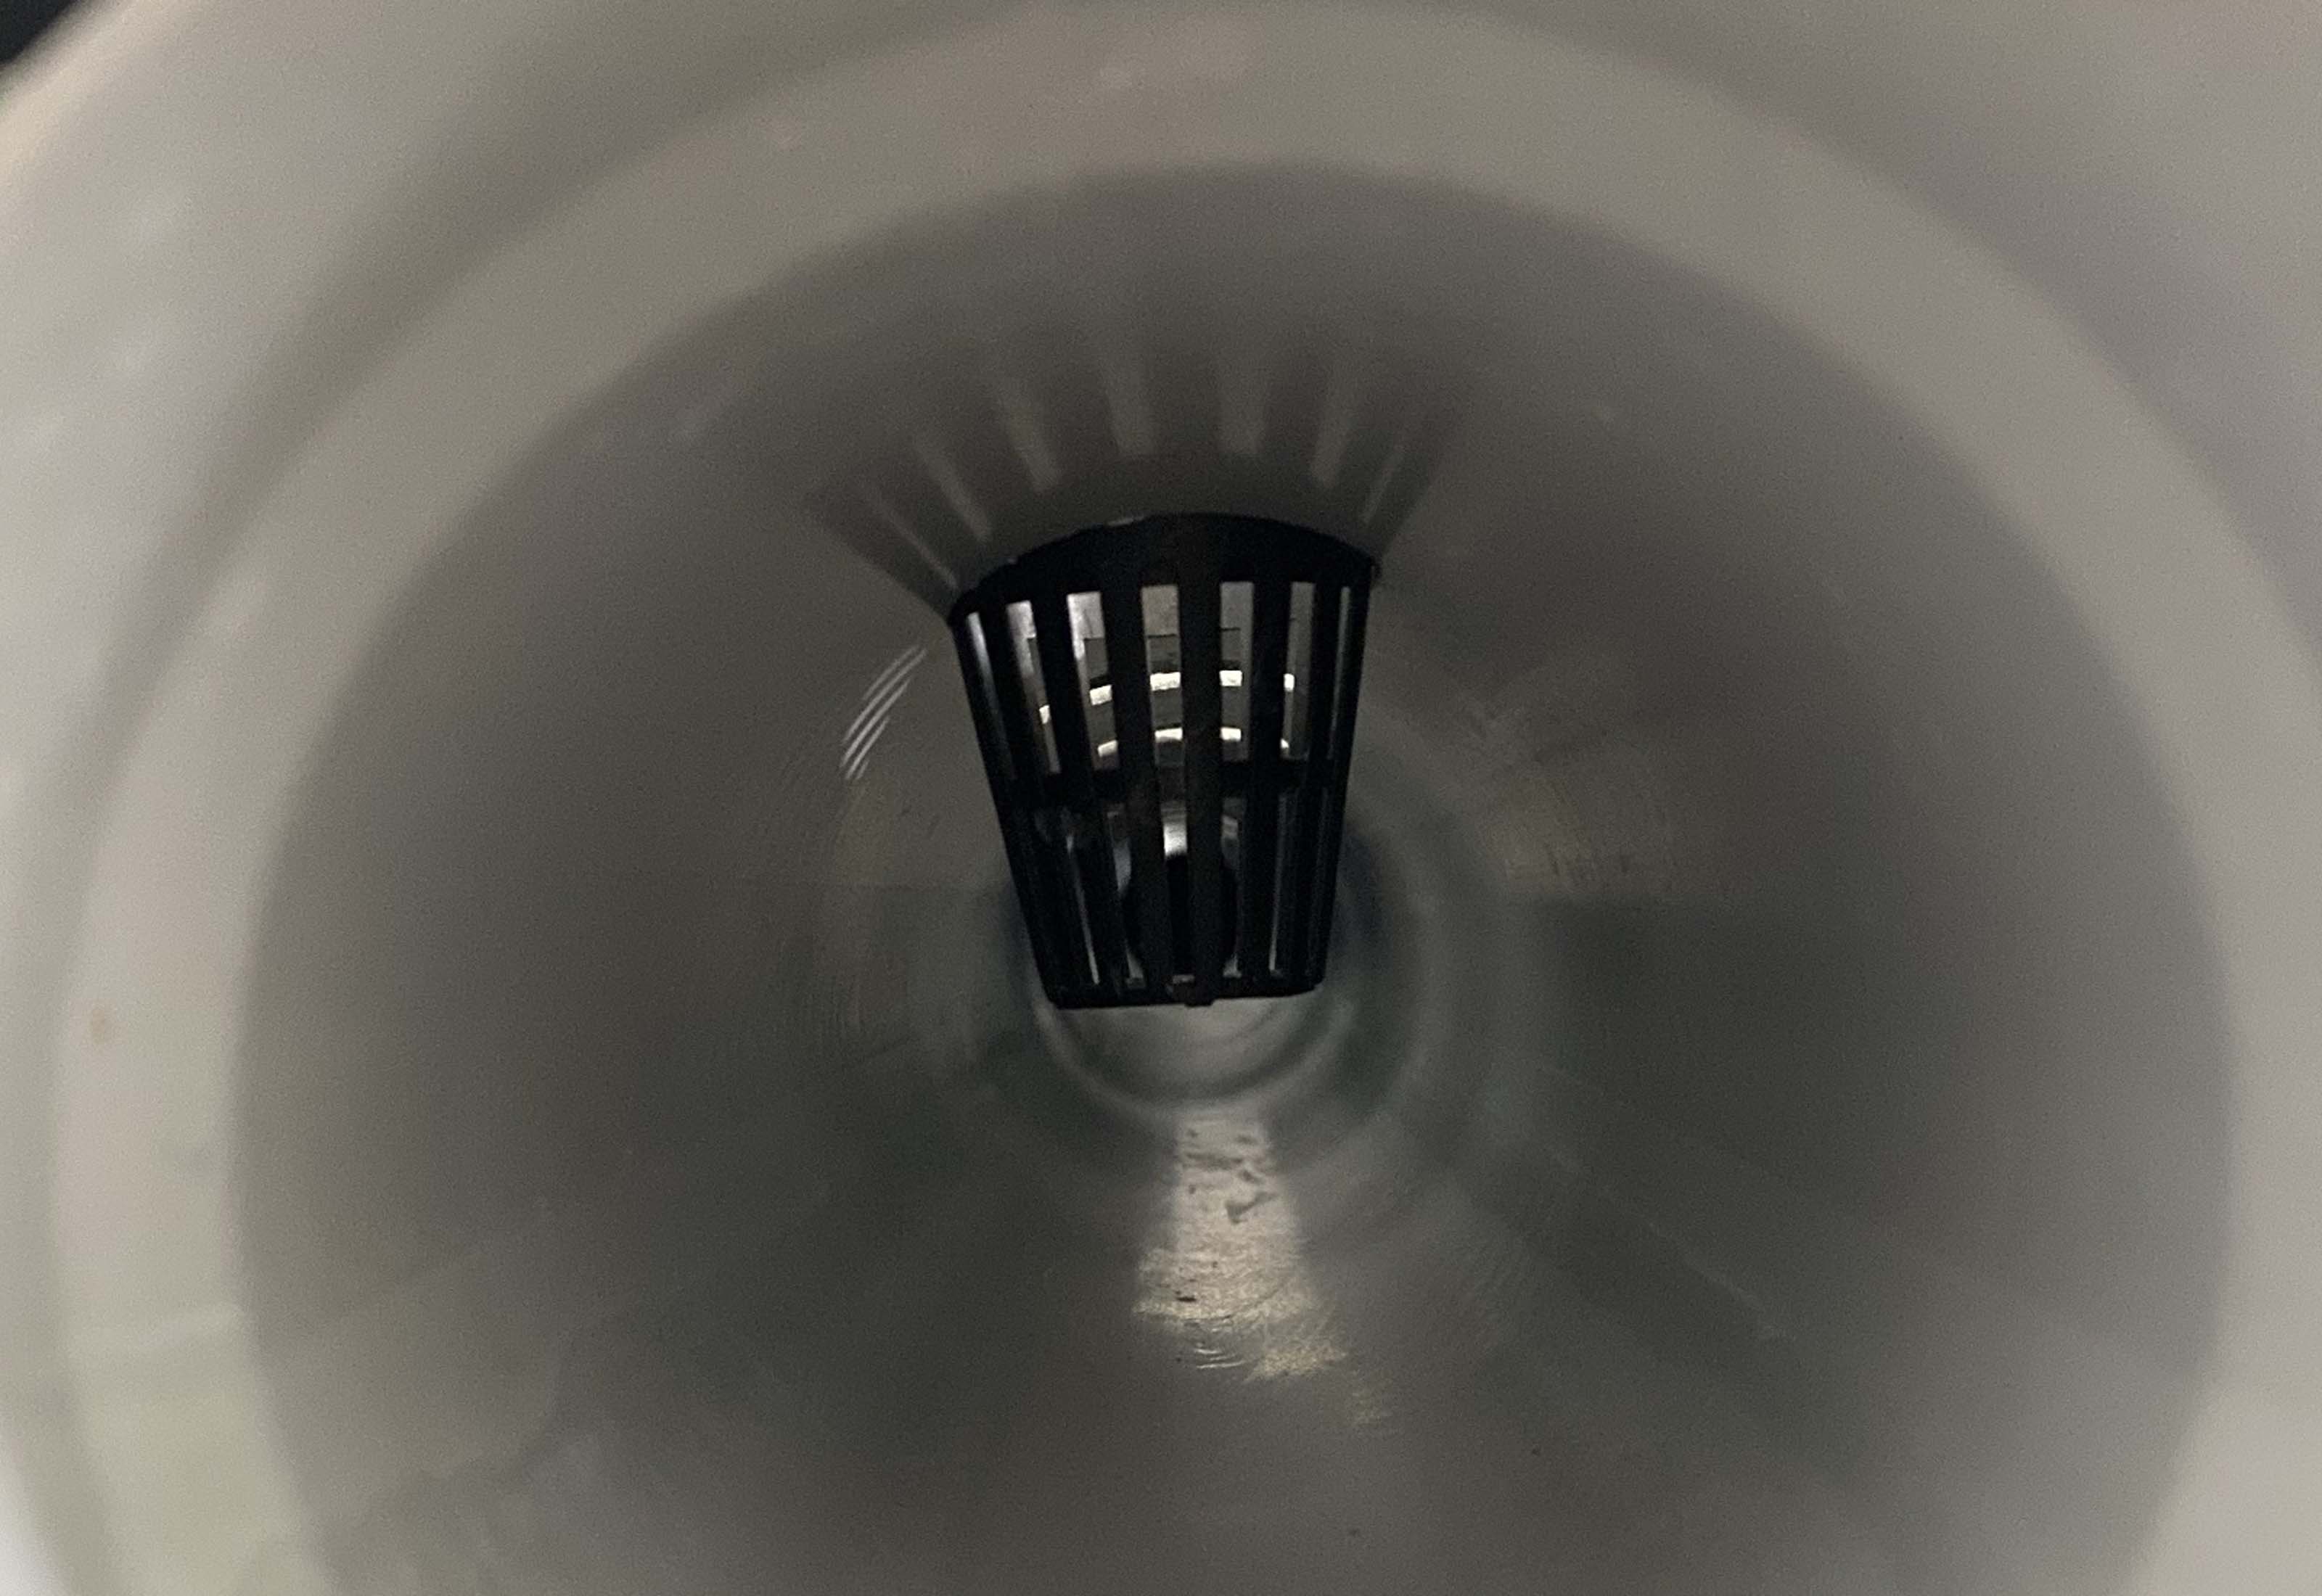
Water level and the cup height.
This is one of the most critical points in the system. Do not make the mistake many people do. Do not immerse the bottom of the cup into the flowing water. The bottom of the cup must stay some distance above the water level. Do not soak the roots, otherwise the plant will die.
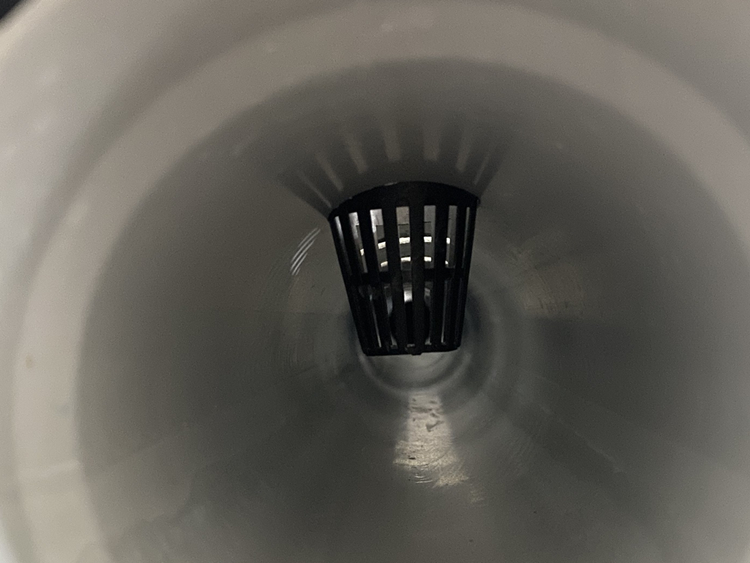
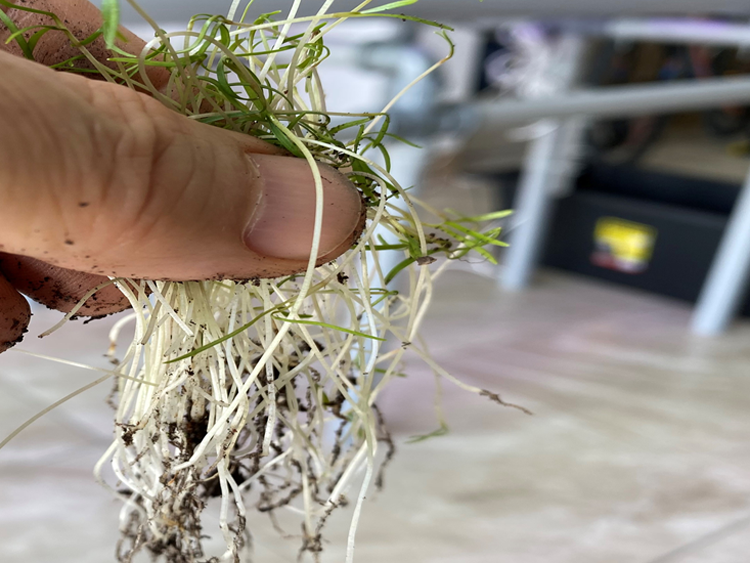
Seed the plants to get early roots.
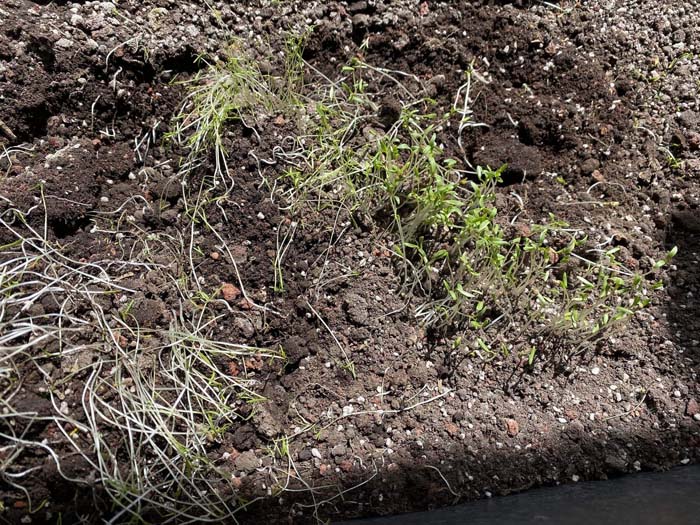
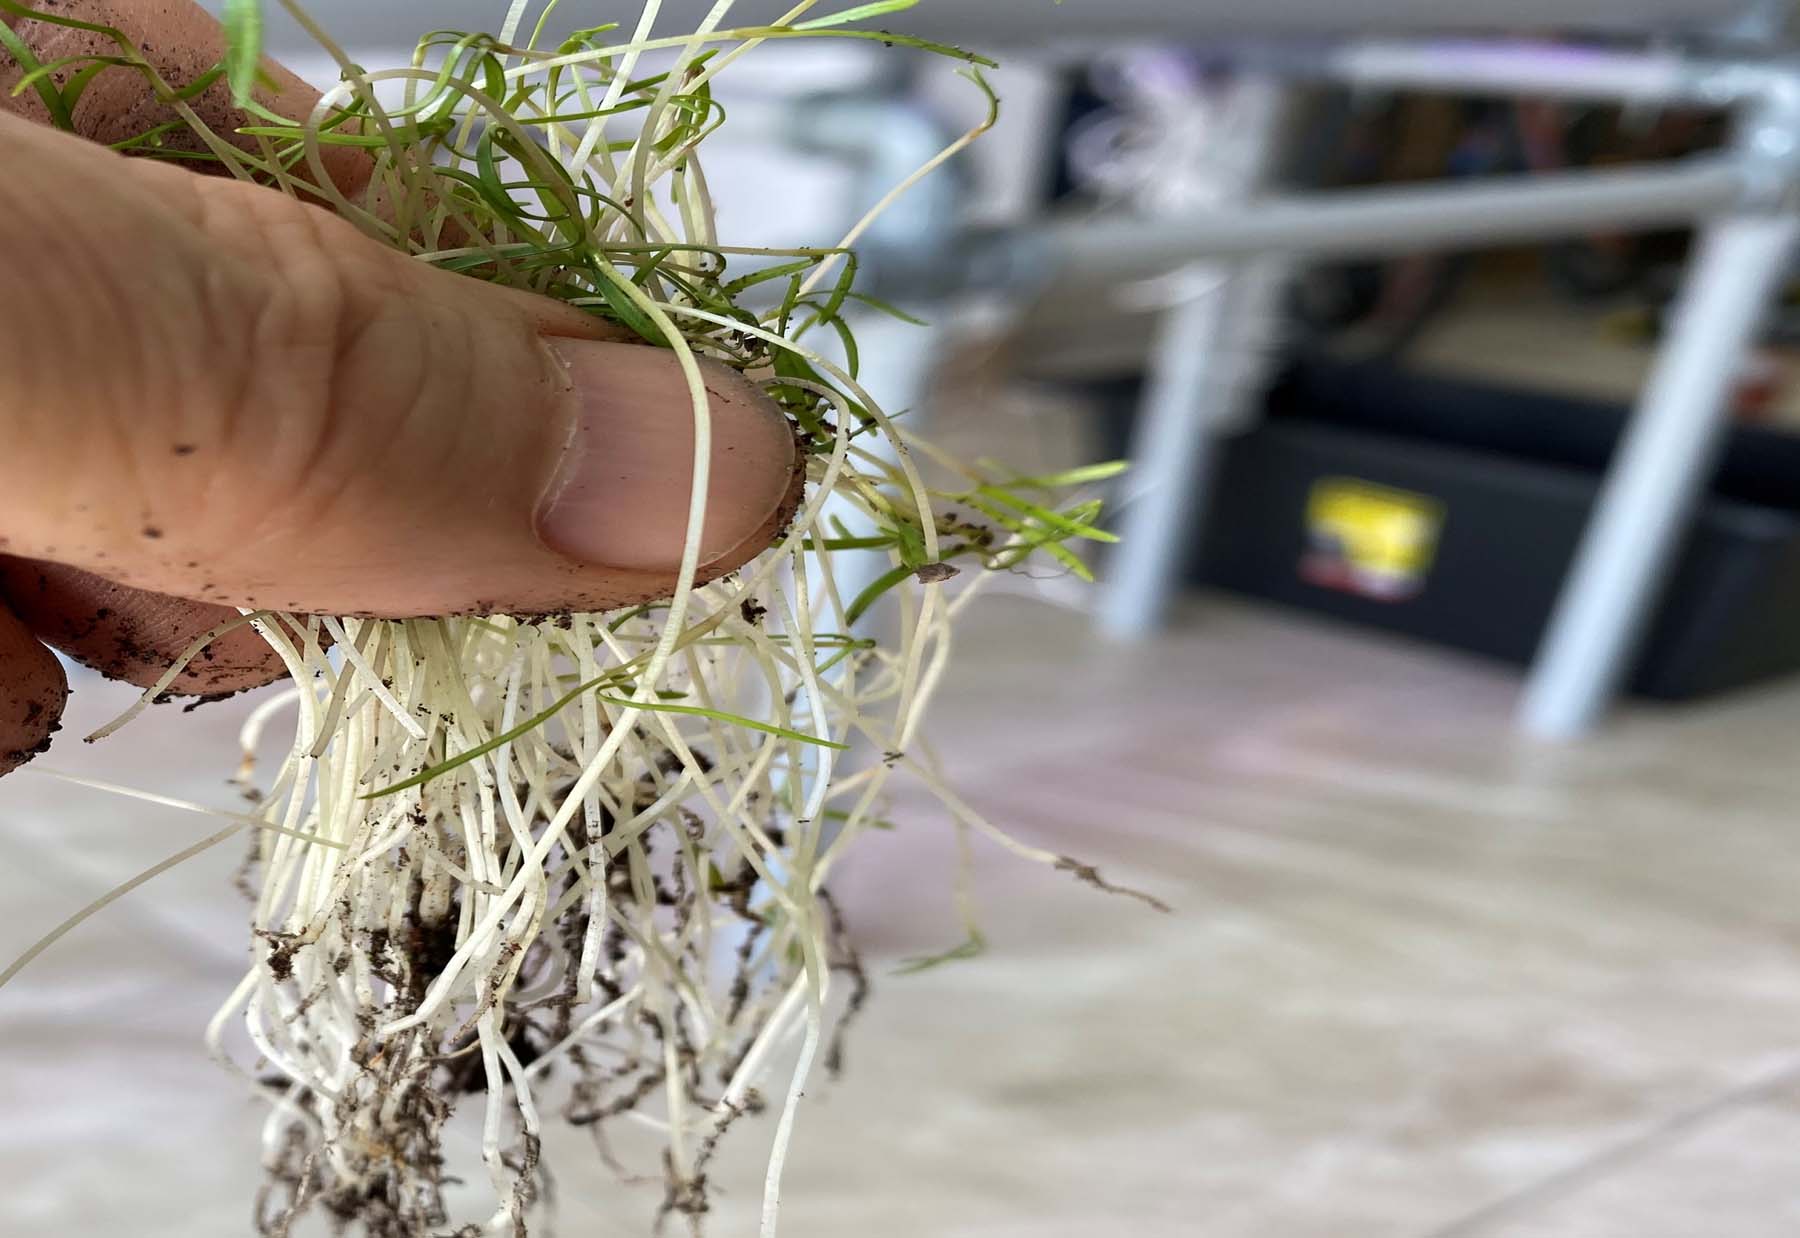
You must seed the plants first in another flat wet plate or soil. When the plants show small growth, remove them, wash them with natural cleaner and get ready to place them into the Growth cups. I suggest one root/seed in one cup for starters. You may do more expert tricks as you do this more.
Move the grown seeds into the cups.
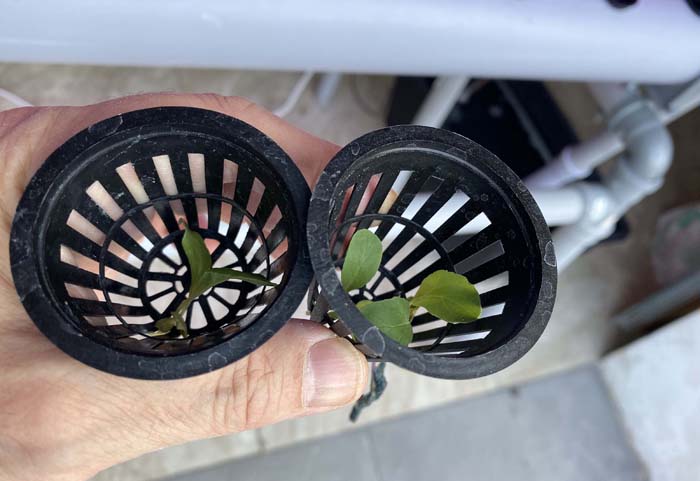
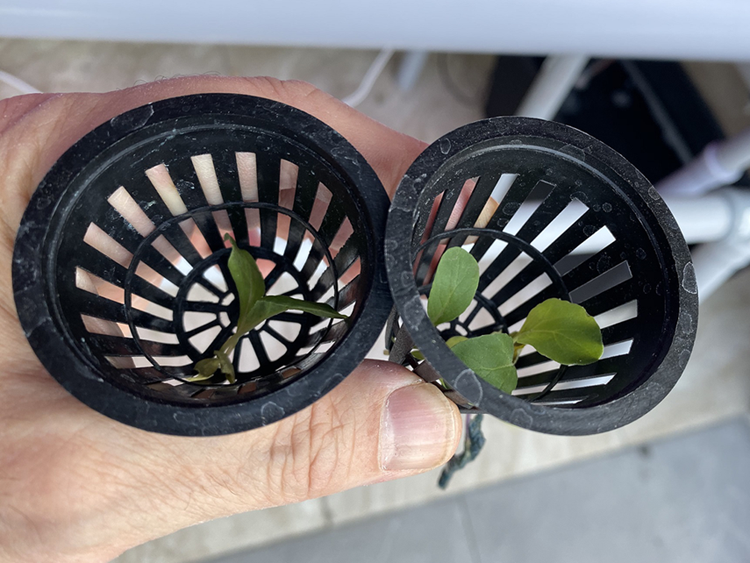
Place the small green seeded plants into the cups. Place the roots at the bottom, the green parts pointing to the top. If you can get the root extended out of the bottom of the up a little bit, this will be helpful.
Real green natural organic food.
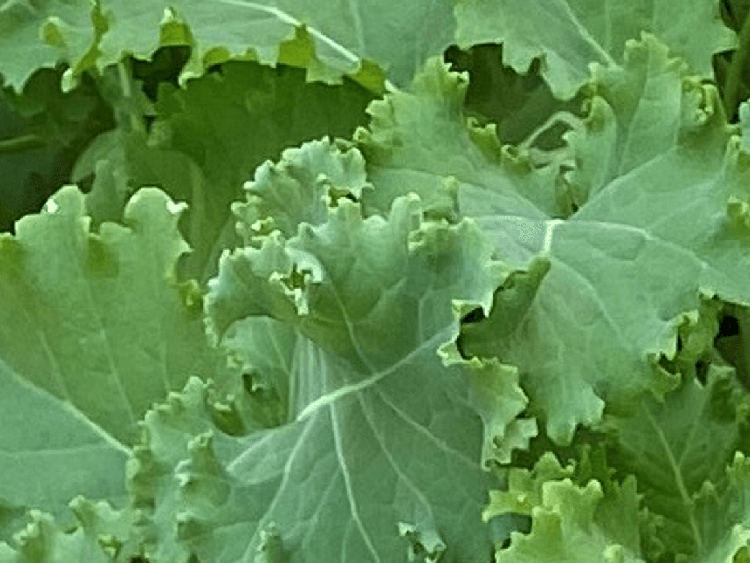
If you do all things right, and follow the process as the plants grow, you should get bright green, organically grown vegetables to eat with no hormones or pesticides, and they taste great. You are now ready to live on Mars !

